
You've saved photographs of warm wood cabinetry and subtly veined stone, but your own kitchen still feels heavy, even when sunlight fills the room. Perhaps you live in an older house whose original character disappears behind builder-grade cabinets. You know what you'd like to change. What's less clear is who should connect the drawings, purchases, construction decisions, and budget.
A design build kitchen remodel is first a decision about coordination. The appeal isn't just having fewer people to call. It's having a team responsible for making the kitchen you approve work as a built space, with the practical details resolved before they become expensive surprises.
Table of Contents
- Design-Build vs Design-Bid-Build at a Glance
- The Five Phases from First Call to Final Walkthrough
- What the budget actually buys
- Why the calendar has separate clocks
- Is design-build more expensive than hiring separately?
- What should I keep after the final walkthrough?
- Can I bring in my own contractor?
Design-Build vs Design-Bid-Build at a Glance
Say you own a house from the 1920s and want a kitchen that respects its original proportions without recreating its limitations. You commission a drawing, then receive bids from three contractors. One includes electrical upgrades; another assumes existing wiring stays. Suddenly, you're reconciling different projects rather than comparing prices.
Design-build brings design, selections, budgeting, and installation into one coordinated agreement. Design-bid-build separates the designer's agreement from the builder's, leaving a contractual seam the homeowner must understand.
This sits within a broader move toward professional remodeling, not proof that every homeowner chooses design-build: Harvard University's Joint Center for Housing Studies found that the DIY share of discretionary projects fell from 31.5% in 1995 to 19.1% in 2023, while total homeowner improvement spending rose from $174.1 billion to $405.0 billion, in inflation-adjusted 2023 dollars.
Design-build and design-bid-build compared
| Question | Design-build | Design-bid-build |
|---|---|---|
| Who holds the contract | One firm or team covers design and installation | Designer and contractor are hired separately |
| When pricing firms up | After the design scope and selections are set | After contractors bid on finished drawings |
| Who coordinates changes | The design-build team, ideally before construction starts | Often handled through change orders between separate parties |
| Where accountability sits | With one team from concept to installation | Split between the designer and the builder |
Either arrangement can produce thoughtful work. Design-build offers one point of contact, but you still make the decisions that control cost.
The Five Phases from First Call to Final Walkthrough
The process works best when you know what you're approving at each stage.
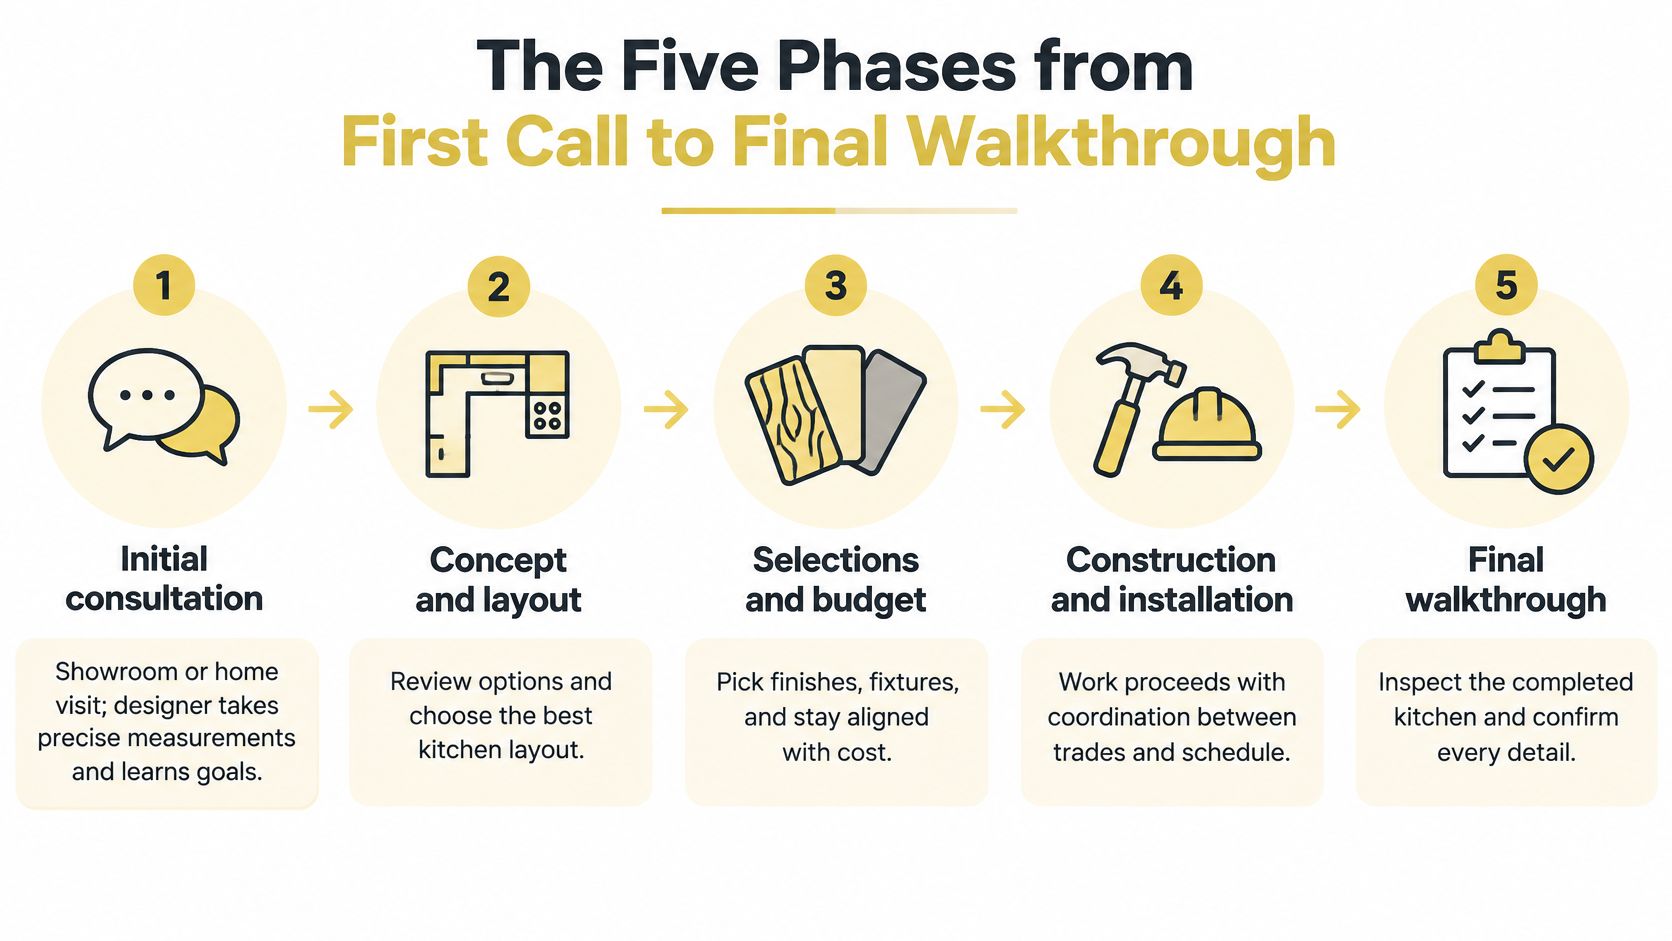
Initial consultation. Share your priorities and budget during a showroom or home conversation. For remodeling projects, a Jennifer Gilmer Kitchen & Bath designer or design associate visits your home to take precise measurements.
Schematic design. Choose among layouts that account for work zones, appliance doors, and household traffic. Our process shows you the finished project on a screen before work begins.
Selections. Approve cabinetry, countertops, appliances, lighting, and hardware together, recording delivery expectations. Resolve installation dependencies too; Flacks Flooring's Cumming hardwood flooring installation sequence offers useful context for discussing flooring and cabinet order.
Construction. Our team oversees builders and works with contractors to implement the design. Establish responsibility for inspections and change orders, and approve changes in writing.
Final walkthrough. Review the punch list, meaning unfinished or corrective work, and check appliance hookups and lighting. Confirm completion responsibilities and collect warranty information.
The consequential early decision: Finalize the layout and selections before demolition, rather than paying to resolve them during construction.
For scheduling context, our guide to how long a kitchen remodel takes helps frame the conversation. Bring inspiration photographs, priorities, and a preliminary budget to your first meeting.
Realistic Costs and Timelines for the Region
For major remodels of kitchens 200 square feet or smaller, median spending rose 9% to $35,000 in 2024, according to Houzz's 2025 U.S. Houzz & Home Study. For major remodels of kitchens 200 square feet or larger, median spending remained $55,000 in 2024, according to Houzz's national renovation findings.
These are national planning benchmarks, not quotations for Washington, DC, Maryland, or Virginia. A kitchen's floor area doesn't reveal whether a wall needs engineering, whether plumbing must move, or whether the desired cabinetry requires extensive customization.
The expectation gap matters too: a Stacker report on homeowner remodeling expectations reports that 42% expect to spend under $20,000, while citing Zonda's 2024 benchmarks of above $27,000 for a minor kitchen remodel and roughly $80,000 for larger projects; it also reports that nearly three-quarters consider less than four weeks ideal and one-third expect completion in under two weeks.
What the budget actually buys
The figures below summarize those benchmarks. The cost drivers describe what to investigate in a proposal, not a formula for adjusting a national median.
Benchmark spend and cost drivers by kitchen scope
| Project scope | Benchmark spend | What drives the range |
|---|---|---|
| Kitchen under 200 sq ft, major remodel | $35,000 median in 2024, up 9% from $32,000 | Cabinetry tier, appliances, structural work, and materials |
| Kitchen 200 sq ft or larger, major remodel | $55,000 median in 2024 | Cabinet replacement, appliance refreshes, and any layout changes |
| Minor kitchen remodel | Above $27,000, Zonda 2024 | Scope of cabinets, counters, and finishes |
| Larger kitchen projects | Roughly $80,000, Zonda 2024 | Full layout changes, custom cabinetry, and systems work |
| Homeowner expectation | 42% expect to spend under $20,000 | Gap between early assumptions and a decision-ready budget |
A decision-ready budget identifies actual products and labor responsibilities. It distinguishes a cabinet finish upgrade from an electrical service upgrade, rather than gathering both under an unexplained renovation allowance.
Our realistic guide to kitchen remodeling costs offers further context for organizing that discussion.
Why the calendar has separate clocks
Design time includes measuring, testing layouts, choosing materials, obtaining engineering input, and securing necessary approvals. Construction time includes site preparation, work inside walls, inspections, installation, and finishing.
Procurement connects them. Custom cabinetry takes time to fabricate after approval, and an appliance substitution can change cabinet openings. Permits and engineering reviews don't disappear because the team shares responsibility.
Design-build can reduce rework and delays between separate parties. It doesn't automatically shorten total duration.
Ask for a project-specific schedule with decision deadlines and delivery dependencies. Any phase durations offered as examples should come from the firm's completed project records, clearly labeled as examples rather than promises.
Before demolition, distinguish fixed prices, allowances for unselected items, and a contingency for unknown conditions. They serve different purposes and shouldn't be treated as interchangeable money.
Layout and Ventilation Numbers Settled Early
A kitchen can look balanced in a rendering and still feel awkward when the dishwasher is open. Measurements reveal conflicts that a beautiful finish palette won't solve.
Start with a drawing that shows how people and appliance doors move.
Check movement before cabinet dimensions
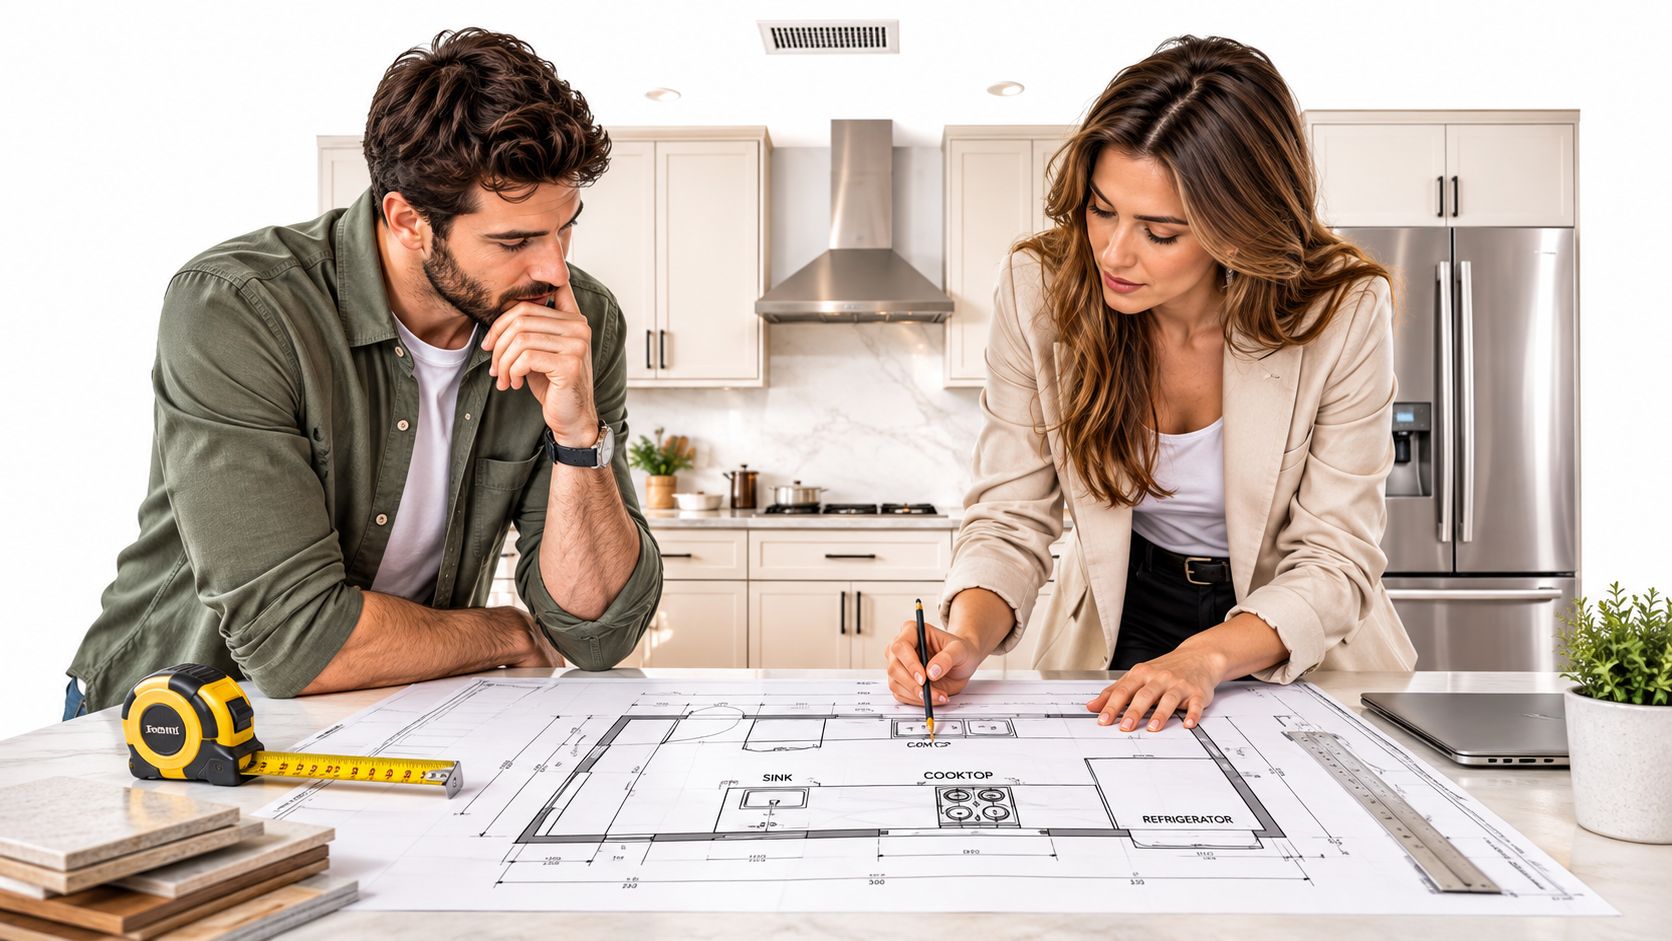
For a kitchen organized around the sink, cooking surface, and refrigerator, the National Kitchen & Bath Association planning guidelines recommend a combined travel distance of 26 feet (7.9 meters) or less, with each leg between 4 and 9 feet (1.2 to 2.7 meters).
Long routes add walking during meal preparation. Overly compressed arrangements can create conflicts between people, doors, and work surfaces.
Draw appliance doors fully open, identify nearby counter space for setting things down, and trace the route from the back door through the kitchen. An island shouldn't force someone carrying groceries through the cooking zone. Check seating, circulation, and power locations together.
Our guide to planning a kitchen layout provides additional ways to test those relationships. At the sink, coordinate basin depth, cabinet space, and plumbing access; WhatsDemand's guide to avoiding leaks when replacing a kitchen sink is a useful companion for understanding connection details.
Design the hood as a working system
The EPA's cooking ventilation guidance recommends approximately 100 cubic feet per minute for a typical hood and running it for 10 to 20 minutes after cooking; it also advises outdoor exhaust and checking make-up air needs for larger fans.
The NKBA kitchen planning document's ENERGY STAR ventilation criteria likewise identify 100 CFM at working speed as a reference, not a universal specification for every cooking appliance.
Duct length, elbows, and the exterior termination create resistance. Ask the team to evaluate delivered airflow through the proposed duct route, not just the hood's headline rating.
Layout and ventilation planning checkpoints
| Planning check | Benchmark | Why it matters |
|---|---|---|
| Work triangle total | 26 ft (7.9 m) or less | Limits repetitive walking during meal preparation |
| Each triangle leg | 4 to 9 ft (1.2 to 2.7 m) | Helps avoid conflicts between appliance doors and people |
| Range hood airflow | About 100 CFM at working speed | Supports capture of moisture, grease, and odor |
| Hood run after cooking | 10 to 20 minutes | Clears remaining moisture and odor |
| High-output hood | Check make-up air requirement | Helps prevent combustion-appliance backdrafting |
Make-up air replaces exhausted indoor air so a powerful fan doesn't depressurize the house. Its design belongs with the mechanical planning, not a late cabinet revision.
Use this video as another prompt for your layout conversation.
Confirm the layout and hood specification before final cabinet dimensions, framing, and exterior wall penetrations.
How to Choose a Design-Build Firm
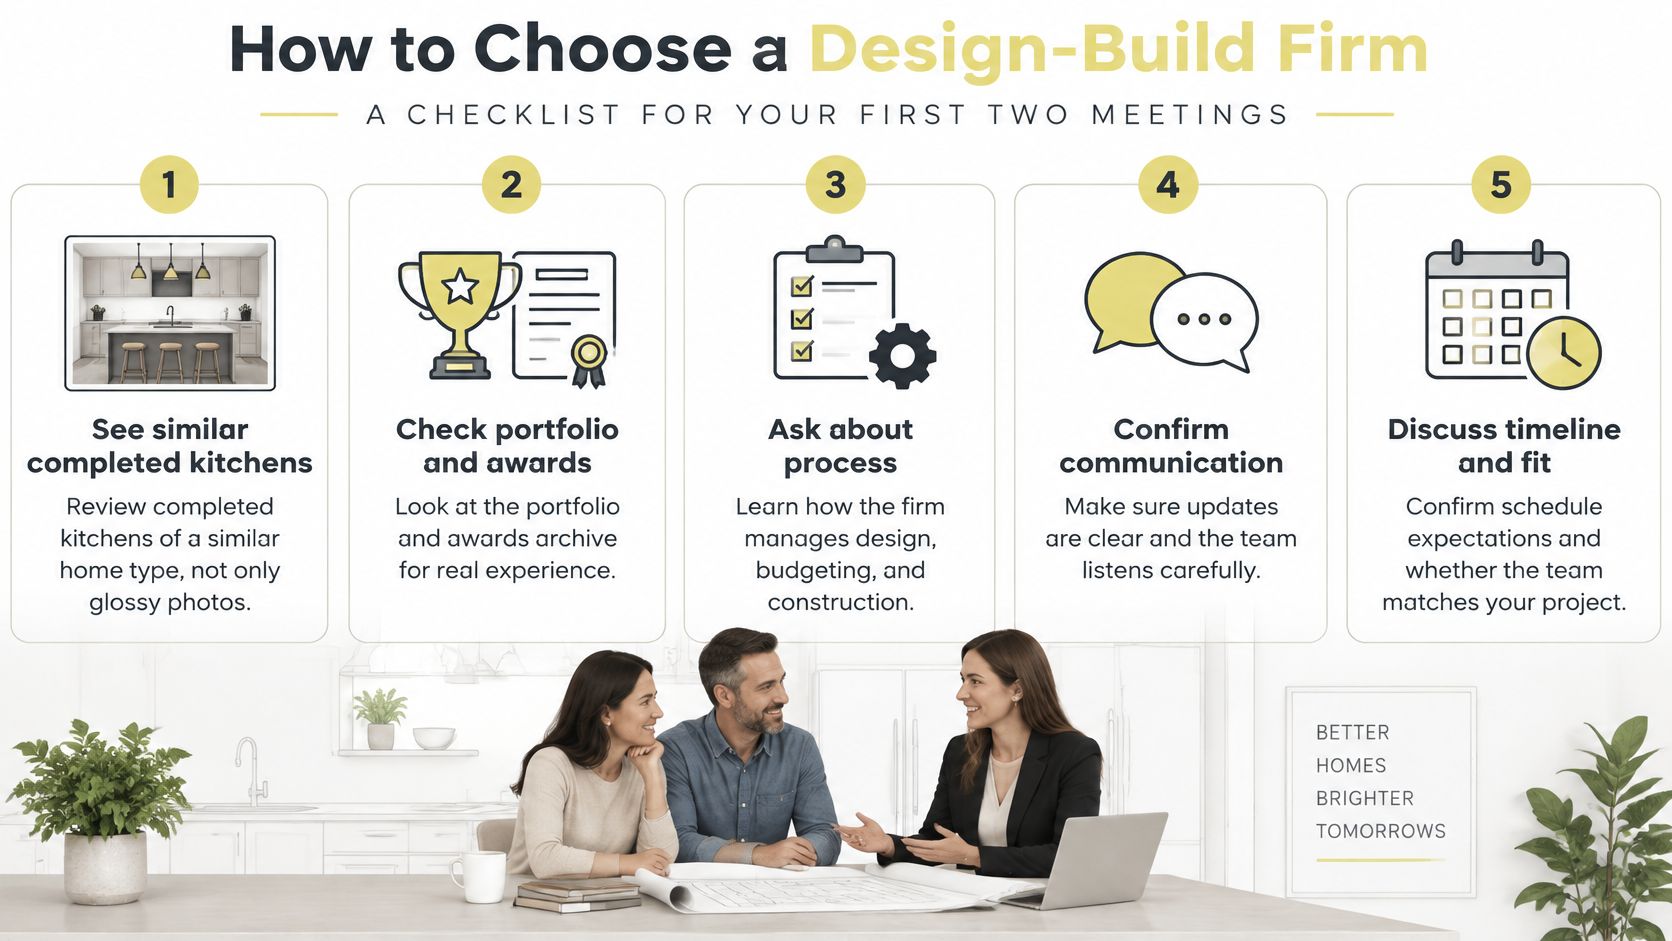
Strong candidates are easy to spot once you stop looking at photographs and start looking at handoffs. A design-build firm earns its fee in the gaps between decisions, so use your first meetings to learn who translates the design into instructions, who checks the work as it goes up, and who answers when something changes on site.
This checklist gives you a starting point for that conversation.
Look for evidence and named responsibilities
Review kitchens in homes like yours. A portfolio is most useful when it shows architectural constraints similar to yours rather than your preferred cabinet color. Ask about projects where the team honored a home's existing character, such as a builder-grade kitchen reworked into a bright, open space that nods to the house's original 1920 character. A good conversation connects the finished photographs to decisions about circulation, storage, and window placement.
Identify the design lead and site contact. At Jennifer Gilmer Kitchen & Bath, ask which designer will lead your project and who will be your site contact. Then clarify who checks installation questions, how decisions get documented, and how you'll reach the appropriate person when the crew needs an answer.
Handle materials in a showroom. Visit our showrooms in Chevy Chase or Easton, Maryland, or in Ashburn, Virginia, to compare surfaces and hardware in person. Finish texture, door pull comfort, and the way adjoining materials meet are hard to judge on a screen, even when the design presentation shows the finished room clearly.
Treat recognition as supporting evidence. Jennifer Gilmer Kitchen & Bath holds a Kitchen & Bath Design Award and a Houzz.com listing. Review the portfolio and awards archive alongside public listings, then return to the practical question: does this team's process suit your project?
Make the agreement match the conversation
Request clear financial boundaries. Written allowances, exclusions, and change-order procedures tell you what the agreement covers. An allowance is the budgeted amount for an item you have not selected yet; an exclusion is work the price does not include. A good answer explains how an unselected item gets priced, who authorizes additional work, and how a change moves the schedule.
Establish construction and permit responsibilities. Our team oversees builders and works with contractors to implement the design. Your agreement should still name who obtains permits, coordinates inspections, supervises site work, and resolves gaps between the drawings and the conditions found inside your walls.
Review the whole schedule. Jennifer Gilmer Kitchen & Bath provides realistic timelines from design to completion. Ask which milestones require your approval and which dates belong to construction, so you understand when you need to be available and what must finish before work can proceed.
Treating a national median as a local quote. A benchmark doesn't describe your walls, access conditions, or chosen finishes. Build the working budget from the proposed layout and itemized selections, then evaluate alternatives before committing. If you need to reduce spending, compare specific changes, such as retaining a plumbing location, rather than requesting the same kitchen for less.
Leaving unknown conditions unfunded. Older wiring, concealed plumbing, or damaged framing can require work that wasn't visible during measurement. Agree on a contingency and an authorization procedure, including photographs or documentation of the condition. Keep that reserve separate from optional upgrades so you don't spend repair money on a finish change.
Choosing finishes after demolition. A late appliance choice can affect an opening; a late countertop decision can hold up the next installation step. Approve a coordinated selection schedule before work begins, and identify acceptable alternatives for products that become unavailable. This protects the design intent without requiring rushed decisions while tradespeople wait.
Leaving accessibility until the end. Among renovating homeowners addressing household special needs, 62% chose pullout cabinets, 55% chose visibility-enhancing lighting, and 35% planned for anticipated future needs, according to the 2025 U.S. Houzz Kitchen Trends Study. These choices belong in an early conversation about daily comfort, not a final hardware appointment.
Gather images and basic measurements. Photograph the kitchen and adjoining rooms, and note ceiling height, windows, doors, and features you'd like to keep. Your measurements provide context; they don't replace the professional measurement visit.
Choose your top three priorities. Perhaps you need unobstructed circulation, better pantry storage, and a comfortable place to prepare meals together. Pair those priorities with a realistic budget range so your designer can distinguish essentials from possibilities.
Arrange your consultation. Book an appointment at our Chevy Chase or Easton, Maryland, or Ashburn, Virginia, showroom, or request an appointment for a home visit. Our website also includes location-specific pages for kitchen remodeling in Maryland and Virginia and kitchen design in Washington, DC.
Clarify the next commitment. Ask about the measurement visit and layout proposal, then review the schematic design, selections, and construction oversight plan. If you need a contractor to carry out the design, our team can help you find one.
A concept-to-installation relationship only works when the written scope supports it. Read the agreement for responsibilities as carefully as you review the cabinet elevations, the drawings that show each cabinet wall straight on.
A reassuring answer names a person, a document, or a decision deadline. A broad promise to handle everything is no substitute for those details.
Common Pitfalls and How to Avoid Them
A coordinated team doesn't remove every risk. It gives you a clearer way to identify risks and decide what to do about them.
Mistakes that weaken the budget
Mistakes that narrow your options
Accessibility doesn't mean every household needs the same kitchen. Easier-to-reach storage and clearer lighting may suit one household, while another needs seated preparation space and wheelchair maneuvering room.
Plan clearances, lighting circuits, and any needed wall blocking, meaning concealed reinforcement for future supports, during design. Discuss removable cabinetry or adaptable work surfaces where appropriate, so a future change doesn't require rebuilding an otherwise useful room.
Questions Homeowners Ask Before Signing
Is design-build more expensive than hiring separately?
A single total doesn't tell you whether the proposals include the same work. Compare allowances, exclusions, installation responsibilities, and change-order procedures line by line, then ask each team to reconcile missing items before you judge the price.
What should I keep after the final walkthrough?
Keep warranty information with appliance manuals, signed selections, approved drawings, and every signed change order in one project folder. Include the final punch-list record and relevant product care instructions so you can identify finishes, request service, or answer a future installer's questions without searching old messages.
Can I bring in my own contractor?
Jennifer Gilmer Kitchen & Bath works with contractors to implement the design, so discuss your preferred contractor at the beginning. Confirm in writing how that contractor fits into the agreement, who directs site work, and who is responsible for correcting installation issues.
Before you sign: Resolve any difference between what you understood in conversation and what the agreement actually says.
You should be able to explain the arrangement in plain language: who designs, who builds, who approves spending, and who responds to a problem. If those answers remain unclear, request clarification before demolition or purchasing commitments.
Book Your Design Consultation in the DC Area
You don't need a finished design to begin. You need a clear account of what doesn't work, what you'd like to preserve, and how you want the room to feel.
Jennifer Gilmer Kitchen & Bath serves Washington, DC, Maryland, and Virginia, designing and installing custom kitchens and baths from concept through installation. Our work spans kitchen remodel ideas and custom cabinet layouts, as well as master bath layouts and half bath remodels.
Prepare for a useful first meeting
Bring photographs, preliminary measurements, and your priorities to the first meeting. They give your designer something more useful than a style label: a picture of the home you have and the life you want the kitchen to support.
Jennifer Gilmer Kitchen & Bath connects thoughtful space planning, material selections, and installation coordination to help you approach a kitchen remodel with clearer decisions. Visit Jennifer Gilmer Kitchen & Bath to arrange a consultation, and bring your photographs, measurements, and priorities so we can begin with the details that matter to you.