

You're standing in a kitchen that works, mostly. The sink has a good view, the cabinets still close, and dinner gets made without much trouble. Yet the oak finish feels heavy, the counters disappear into shadow, and you're tired of kneeling to find the roasting pan.
Consider a familiar starting point: a 1990s colonial in Chevy Chase with sound cabinetry and no compelling reason to move the sink. A full gut renovation isn't the only answer. A softer cabinet color, better light, comfortable pulls, and accessible storage could address the things that bother you while leaving the expensive infrastructure untouched.
That distinction matters. In the 2024 U.S. Houzz Kitchen Trends Study, median spending on a major kitchen remodel reached $55,000 in 2023, compared with $18,000 for a minor remodel. These are national project categories, not local estimates, but they illustrate why a narrower scope deserves its own plan.
The most useful kitchen design ideas on a budget begin with what you'll keep. Before shopping, notice where you prepare food, unload groceries, and reach for everyday dishes. Stahl Home Center's kitchen efficiency tips offer another starting point for thinking about everyday function.
For homeowners across Washington, DC, Maryland, and Virginia, a thoughtful update should make the room easier to live in, not merely different to look at.
Table of Contents
1. Painting or Refinishing Existing Cabinets
Keep sound cabinet boxes; change the surfaces you see and touch. Painting can soften dated cabinetry without disturbing countertops, flooring, or the existing arrangement. It won't, however, correct swollen particleboard, loose joints, or drawers that were poorly built to begin with.
A light finish paired with warm metal hardware illustrates the direction.
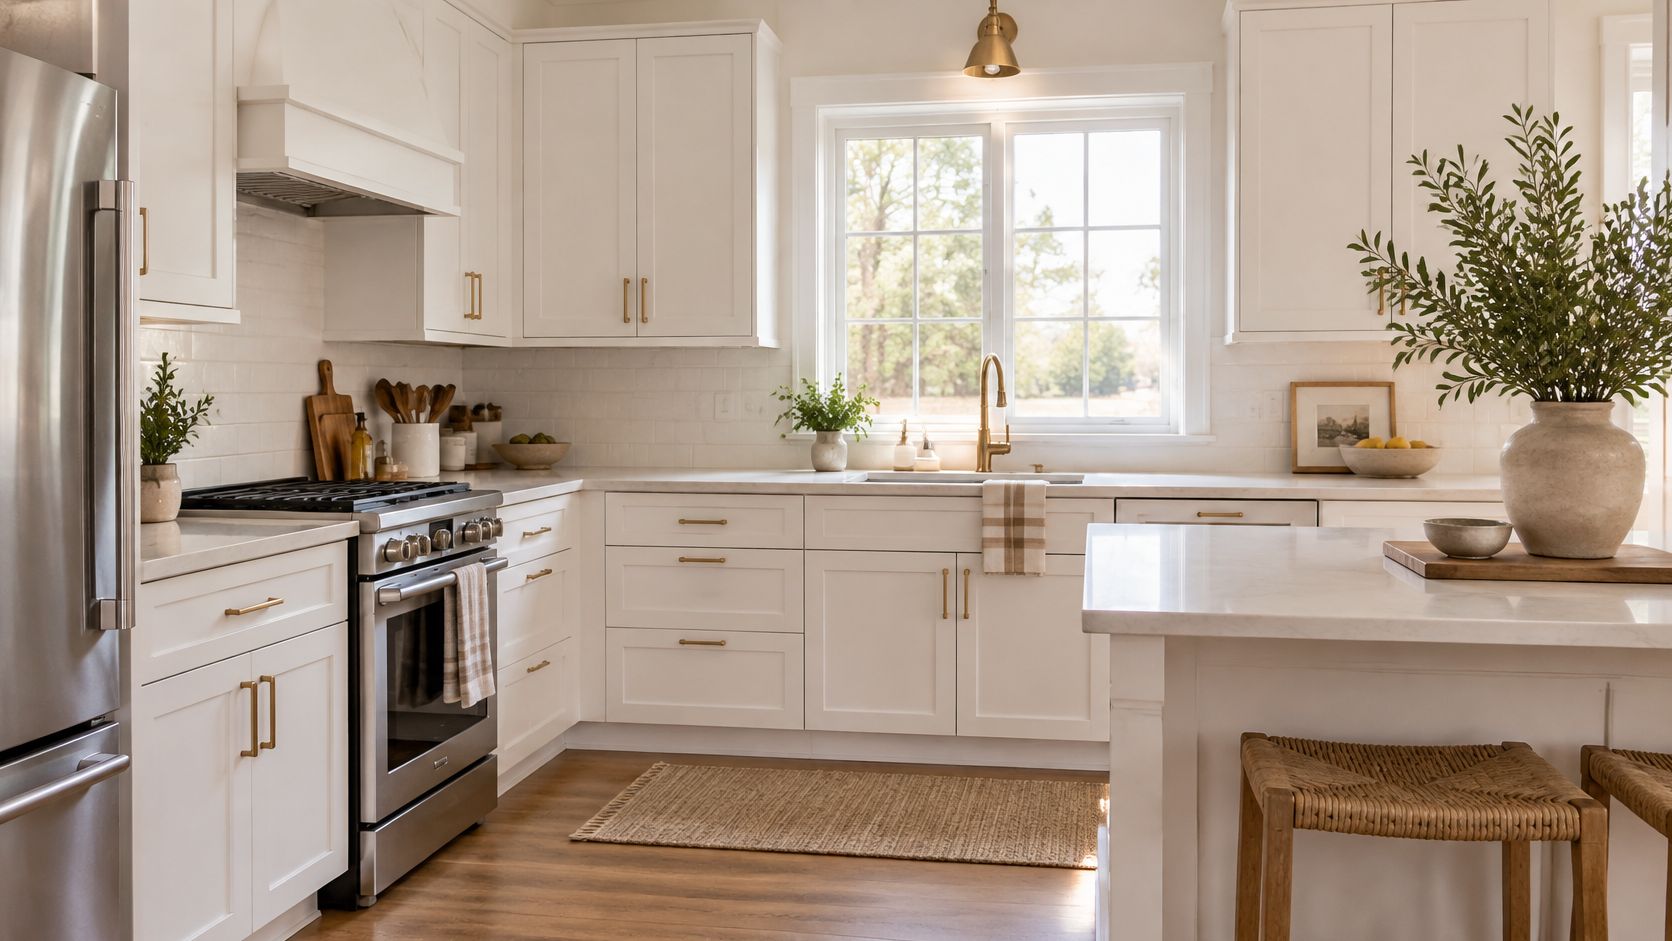
For a Chevy Chase colonial with oak cabinets, consider soft white enamel and brushed brass pulls, with worn drawer hardware replaced during the same work. In a Northern Virginia townhouse, muted green lower cabinets and white uppers could give the room a more grounded, less imposing appearance without changing its dimensions.
Spend on Preparation Before Color
Inspect sink-base corners, shelf supports, hinges, and door edges before approving refinishing. Heavy grain will remain visible unless the painter includes grain filling, so decide whether you want a smooth surface or the character of painted oak.
- Clean thoroughly. Remove cooking residue with a suitable degreaser before sanding.
- Label every component. Mark doors, drawer fronts, and hinge locations before removal.
- Use a cabinet coating system. Specify compatible primer and durable cabinet enamel, rather than ordinary wall paint.
- Repair before finishing. Tighten joints and fill unwanted hardware holes before the final coats.
Stained wood requires a different decision: renewing a clear finish preserves the grain, while changing the stain may require stripping. A professional spray-applied conversion varnish is another option, but it isn't a casual indoor DIY coating.
This video offers a visual companion to the cabinet-update discussion.
What changes: color, surface condition, and potentially drawer movement. What stays: the cabinet footprint and any limitations built into it.
2. Semi-Custom Cabinetry Chosen for Value
When cabinet boxes are failing, refinishing becomes money spent postponing replacement. Semi-custom cabinetry offers a useful middle ground, with configurable sizes, finishes, and interiors without making every component a bespoke commission.
For a Montgomery County kitchen, a sensible specification might prioritize sturdy base drawers while keeping upper cabinets straightforward. An Easton renovation could use semi-custom cabinets throughout most of the room and reserve custom work for an awkward pantry wall, avoiding an addition solely to gain storage.
Spend on the parts you operate every day before paying for details you mostly notice in photographs.
Compare the Complete Cabinet Package
Start with the floor plan, not a door sample. Mark appliance openings, door swings, corner conditions, and filler requirements before comparing cabinet lines; a beautiful cabinet that interrupts circulation isn't good value.
Our guide to semi-custom kitchen cabinet costs provides context for evaluating the scope behind a cabinet quote. Jennifer Gilmer Kitchen & Bath offers semi-custom cabinetry alongside custom options, allowing the specification to follow the room rather than forcing the room into an unsuitable system.
Ask for boxes, doors, hardware, trim, delivery, and installation to be separated in the estimate. Confirm whether finished end panels, toe kicks, and adjustments around uneven walls are included.
Mixing cabinet lines can work, but compare door profiles, sheen, white tones, and finished depths in person. Small differences become obvious when neighboring pieces meet.
The daily improvement comes from better drawer access, useful cabinet proportions, and storage where you need it. Keep utilities, the room envelope, and standard cabinet dimensions wherever they already serve you well; reserve modifications for problems that standard components can't solve.
3. Keeping Plumbing and Gas Lines in Place
The sink beneath the window may already be in the right place. Moving it just to make the plan feel new can introduce plumbing work, cabinet alterations, countertop changes, and repairs to surrounding finishes.
Layout is the first budget decision. Map water, waste, gas, electrical connections, and ventilation before sketching a different arrangement. Keep useful locations, but don't preserve an awkward or unsafe plan just because it exists.
Improve Flow Without Rebuilding the Room
Consider a DC row house where the sink remains under its window but the refrigerator moves toward the entrance. That could let someone collect a drink without crossing the preparation zone, although the new refrigerator position still needs a review of its power supply, door swing, and any water connection.
In a Virginia kitchen, keeping the range on its original wall might leave room for a prep island. The island earns its place only if the surrounding aisles remain comfortable.
The National Kitchen & Bath Association planning guidelines recommend work aisles of at least 42 inches for a single cook and 48 inches for multiple cooks, measured between opposing counters, tall cabinets, or appliances.
- Test appliance access. Open the dishwasher and oven while checking nearby paths.
- Separate traffic from preparation. Keep the household route to the refrigerator out of the main work area where possible.
- Price small changes. Shifting a dishwasher or outlet still involves trades and finish repairs.
Jennifer Gilmer Kitchen & Bath can review layout and appliance placement during design and coordinate with contractors through implementation. That early planning helps distinguish an essential correction from a costly change that adds little to daily life.
What stays untouched: useful service locations. What improves: access, circulation, and the sequence of preparing a meal.
4. Partial Open Shelving
A shelf of everyday bowls can make a kitchen feel personal; a wall of exposed pantry goods can make it feel unfinished. Partial open shelving works best as a deliberate exchange, not as an automatic substitute for upper cabinets.
Warm wood against pale cabinetry shows how a limited amount of open storage can soften a room.
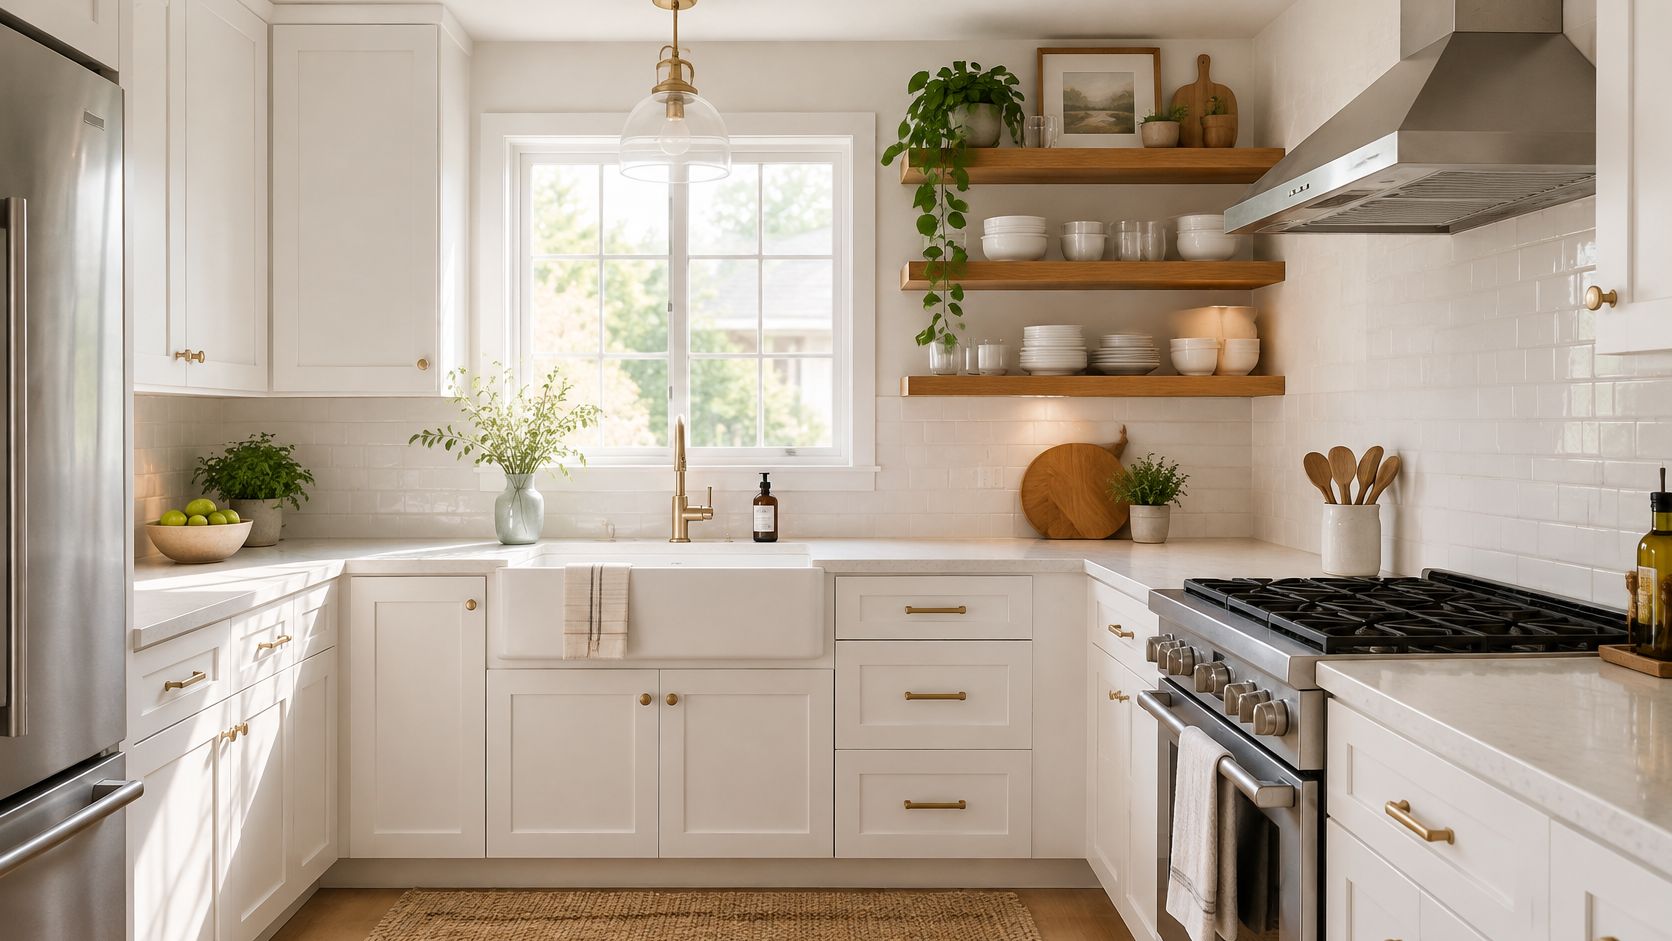
In a Chevy Chase kitchen, a short shelf run beside the cooking area could hold frequently washed white bowls and a small plant. Keep it beyond the immediate grease-splatter zone, and retain closed storage for oils, spices, and less attractive equipment.
Remove Less Than You Think
For an Ashburn kitchen with a crowded window wall, replacing an upper cabinet with shelves could reduce visual weight and allow light to travel farther across the room. It won't create additional daylight, and it will reduce enclosed storage, so identify a home for everything displaced before removing the cabinet.
- Match depth to contents. Measure dinner plates rather than choosing shelves solely by appearance.
- Plan structural support. Fasten brackets into suitable framing or provide blocking, using supports rated for the intended load.
- Allow for wall repairs. Cabinet removal may expose unfinished paint, damaged plaster, or missing backsplash.
- Keep daily pieces accessible. Reserve higher shelves for lighter, less frequently used objects.
Practical rule: Open shelving is a good budget choice only when you'll use what's on it and won't need replacement storage elsewhere.
The daily benefit is quick access to familiar dishes. The trade-off is more visible housekeeping and less protection from dust.
Leave the pantry and most closed cabinets untouched. A small opening in the composition often feels more considered than removing every upper cabinet.
5. Layered Lighting Upgrades
If you chop vegetables in your own shadow, a new pendant alone won't solve the problem. Task lighting belongs over the work surface, while general lighting supports movement and decorative fixtures contribute atmosphere.
Lighting works best when the room feels comfortable both during preparation and after dinner.
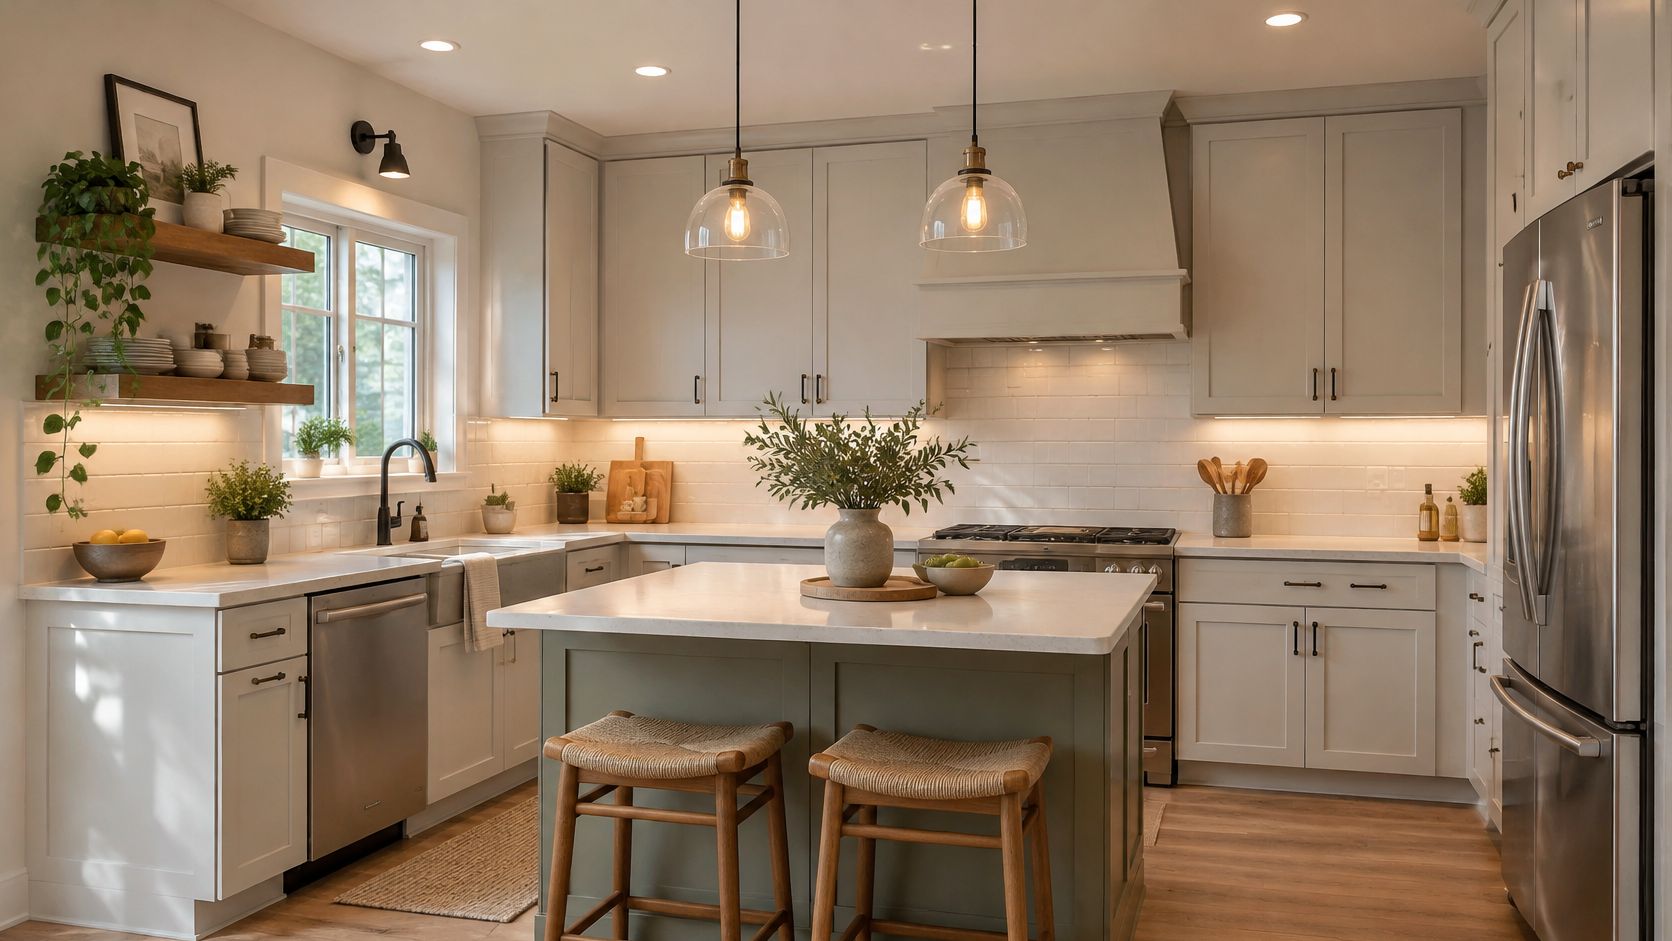
For a Maryland kitchen, consider under-cabinet LED strips before adding pendants above the peninsula. In a DC kitchen with adequate fixture locations, compatible dimmable LED replacements may improve evening comfort without opening the ceiling.
Light the Counter Before Decorating the Ceiling
Mount under-cabinet lighting toward the cabinet's front edge and conceal the light source behind a rail or within a suitable channel. A diffuser helps avoid distracting points of reflected light on polished counters.
As a design starting point, choose 2700K to 3000K for warm ambient light and consider 3500K to 4000K for task-focused areas. Test the combination in the room, because noticeably different light colors can make an otherwise cohesive kitchen feel disjointed.
Our guide to the best lighting for a kitchen explains how fixture types work together. Before ordering, confirm that the lamps or integrated fixtures, drivers, and dimmers are compatible.
- Use existing wiring thoughtfully. Plug-in lighting can suit a limited update if cords remain neatly managed.
- Conceal connections properly. Hardwired installations need appropriate electrical work and accessible components.
- Coordinate visible finishes. Let pendants relate to the faucet and hardware without demanding an exact match.
The daily change is better visibility and control. Cabinets, counters, and appliance positions can remain exactly where they are, making lighting particularly useful when the layout already works.
6. Backsplash as a Focal Point
A backsplash lets you introduce texture or color without committing the entire kitchen to an expensive material. The restraint matters: a small area of distinctive tile can feel intentional, while multiple competing finishes can make an inexpensive update look busy.
Soft green tile offers a gentle contrast to white cabinets and warm wood.
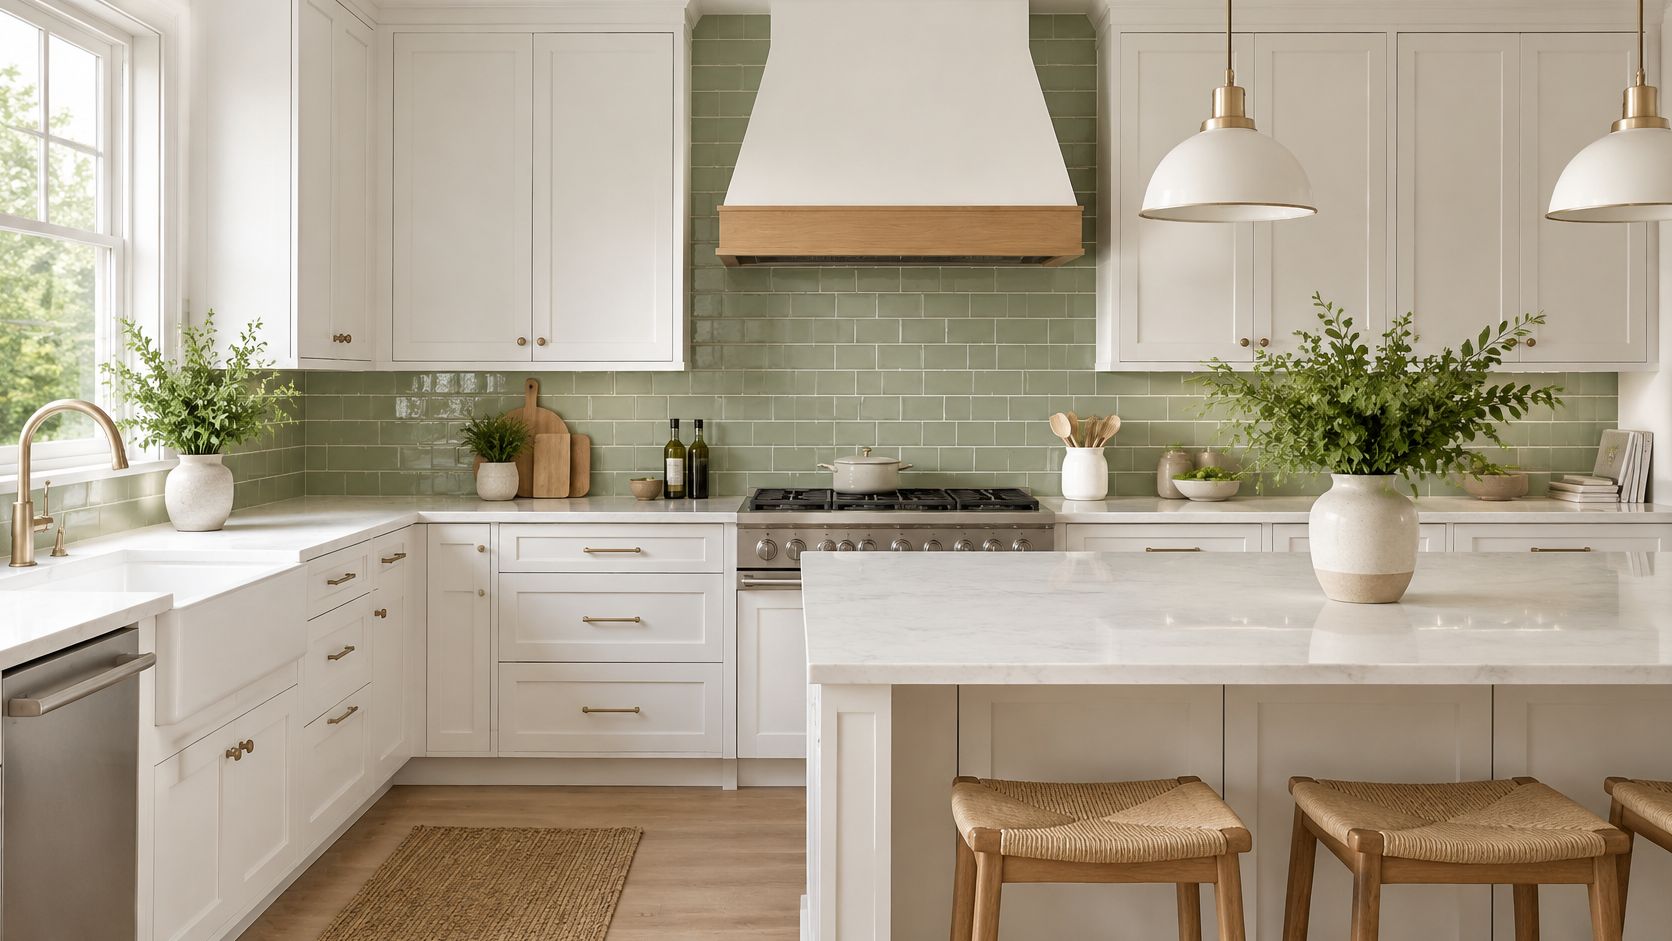
For a Northern Virginia kitchen, vertically stacked white subway tile could give simple Shaker doors a cleaner, more contemporary setting. In a Chevy Chase kitchen, handmade green zellige behind the sink could supply the character, leaving plain counters and existing cabinetry alone.
Price the Installation, Not Just the Tile
Material price isn't the installed price. Herringbone layouts require more cutting and setting attention than straightforward courses, while irregular handmade tile asks the installer to manage thickness and variation carefully.
Order samples and stand them beside the actual countertop under daylight and evening lighting. Choose grout deliberately: a close match emphasizes the overall surface, while contrast makes every joint more prominent.
- Resolve exposed edges. Decide on trim, finished tile edges, or another termination before installation.
- Check the substrate. Repair damaged wall surfaces and provide suitable preparation and water protection where needed.
- Include electrical adjustments. Added tile thickness may require appropriate box extensions and revised cover placement.
- Finish changes of plane correctly. Use a suitable flexible sealant where tile meets the counter rather than treating every joint alike.
Run the backsplash to a clear architectural stopping point, usually the underside of wall cabinets. If countertops will be replaced soon, postpone the tile so demolition doesn't damage a newly finished surface.
What changes: the room's focal point and the cleanability of the wall. What stays: the major cabinetry and layout investment.
7. Hardware and Faucet Refresh
Pick up a sample pull before ordering a kitchen's worth. Your fingers should fit comfortably behind it, its edges shouldn't feel sharp, and its scale should suit the door or drawer.
Hardware is a daily-use component, not just decoration. A faucet deserves the same scrutiny: check handle clearance, spout reach, spray operation, and whether replacement parts are readily available.
Keep the Existing Holes Working for You
Measure pull spacing from the center of each screw hole. Adjustable-center pulls can sometimes accommodate existing drilling, but a different finish won't conceal misplaced holes; those require repair or a backplate that fully covers them.
In a Montgomery County kitchen, painted cabinets and unlacquered brass pulls could introduce warmth without replacing the boxes. Remember that unlacquered brass changes appearance with use, so it's a poor choice if you want a permanently uniform finish.
An Easton kitchen could take a crisper direction with matte black pulls and a black gooseneck faucet. Before choosing the faucet, confirm its mounting requirements and make sure the spray reaches the sink's corners without overshooting the bowl.
A new pot filler isn't a simple hardware refresh when it requires a new water line. Treat it as plumbing work, not an accessory.
Prioritize a well-made faucet, such as a solid-brass-bodied model with dependable service support, over a decorative feature you rarely use. Check beneath the sink for deteriorated shutoff valves and include any necessary repairs in the installation scope.
Repeat a finish family across selected details, but don't replace every metal surface merely to achieve a match. Existing stainless steel appliances can sit comfortably alongside brass or black.
Keep spare pulls for future repairs. This update changes the kitchen's touch points and visual rhythm while leaving its structure, storage capacity, and circulation untouched.
8. Retrofitting Storage with Pull-Outs and Organizers
Before buying organizers, empty the cabinet that frustrates you most. The problem may be inaccessible depth rather than insufficient space, and fitting an accessory without auditing the contents can preserve the clutter in a more expensive form.
Targeted storage is common in larger renovations too: the 2025 U.S. Houzz Kitchen Trends Study reports pullout waste or recycling bins in 67% of renovated kitchens and tray organizers in 59%. For a smaller project, the useful lesson is to choose the accessories that match your own routine, not to equip every cabinet.
Fit the Organizer to the Cabinet and the Cook
For a DC kitchen, a narrow base cabinet could become accessible dry-goods storage with a compatible pull-out pantry mechanism. In a Virginia kitchen, a swing-out blind-corner organizer might bring seldom-reached cookware into view, provided the door opening and neighboring cabinets allow its movement.
- Measure the clear opening. Account for face frames, hinges, plumbing, and door thickness, not just the cabinet's exterior width.
- Check load ratings. Select slides and mechanisms suited to cookware or pantry goods.
- Choose full extension where useful. Bringing contents beyond the cabinet face reduces reaching into dark corners.
- Group by task. Keep baking tools together and place food-storage containers near their lids.
Pull-outs consume some internal space, and corner mechanisms can be costly. A simple tray divider may serve baking sheets better than an elaborate fitting that leaves less usable room.
Our small-kitchen storage ideas offer further ways to match storage to daily tasks. Begin with the cabinet you open most often, then judge whether the improvement warrants extending the approach elsewhere.
What changes: visibility, reach, and the time spent searching. What stays: serviceable cabinet boxes, counters, and the room's footprint.
How the Eight Budget Kitchen Upgrades Compare
| Item | Changes the Layout | Installation Effort | Best For |
|---|---|---|---|
| Painting or Refinishing Existing Cabinets | Keeps the existing layout | Low to moderate; careful prep and finishing required | Refreshing sound cabinets on a budget |
| Semi-Custom Cabinetry Chosen for Value | Can improve cabinet fit; layout depends on the plan | Moderate; selection and installation take planning | A tailored cabinet fit at less than full-custom cost |
| Keeping Plumbing and Gas Lines in Place | Preserves utility locations; reorganizes around them | Low to moderate; avoids major utility work | Controlling costs while improving kitchen flow |
| Partial Open Shelving | Replaces some upper-cabinet storage | Low to moderate; requires secure mounting | Creating a lighter look and displaying everyday items |
| Layered Lighting Upgrades | Does not change the layout | Low to moderate; new wiring may be needed | Improving visibility, atmosphere, and task lighting |
| Backsplash as a Focal Point | Does not change the layout | Moderate; tile patterns can add labor | Adding visual interest with a focused material update |
| Hardware and Faucet Refresh | Does not change the layout | Low; usually quick to install | Making a noticeable, low-cost style update |
| Retrofitting Storage with Pull-Outs and Organizers | Keeps the layout while improving storage access | Low to moderate; fit and cabinet construction matter | Making existing cabinets easier to use |
Choosing the Right Upgrades for Your Kitchen
The strongest budget kitchens begin with a clear distinction between what feels dated and what fails. A worn finish calls for a different response than a leaking sink base, and an awkward traffic route won't improve because the backsplash is prettier.
Start with a layout review, then rank paint, lighting, storage, and hardware by how often they affect your routine. If you cook every evening, a well-lit preparation counter and accessible pans may matter more than replacing upper cabinets that already work.
The financial discipline is important: according to the 2024 U.S. Houzz & Home Study, 39% of homeowners exceeded their renovation budgets in 2023. Write down the project boundary before selections begin, and keep a contingency reserve separate from the money available for decorative upgrades.
Decide What Happens Together
Some improvements belong in the same phase. Repair cabinet doors before painting, confirm hardware drilling before finishing, and resolve countertop plans before setting a new backsplash.
Other work can wait without undermining the result. Decorative pendants can follow functional task lighting, and additional organizers can be added after you've tested the most useful cabinet.
- Refresh-only scope. Keep cabinetry and services, focusing on finish repairs, light, and touch points.
- Cabinet-focused scope. Replace failing storage while preserving useful appliance and utility locations.
- Layout-focused scope. Address circulation or access problems first, then simplify finishes to protect that investment.
These aren't interchangeable versions of the same renovation. Each has a different purpose, and choosing wisely prevents a modest refresh from gradually becoming an underfunded full remodel.
Make the Decisions Visible Before Work Begins
Jennifer Gilmer Kitchen & Bath can guide the process from concept through installation, help clients find a contractor to implement the design, and coordinate with builders during execution. We also show clients the proposed finished kitchen on screen before work begins, making it easier to understand how the choices fit together.
Bring photographs, rough room measurements, and a short list of daily frustrations to the initial conversation. Include what you like about the room, too; preserving a good window, a comfortable work zone, or sound cabinetry can be as important as choosing something new.
Visit our Chevy Chase, Easton, or Ashburn showroom to compare materials and cabinetry in person, or book an appointment to discuss your priorities. We serve homeowners across Washington, DC, Maryland, Virginia, and Delaware, with thoughtful planning that begins with how you want to live in the space.
Jennifer Gilmer Kitchen & Bath offers layout planning, material and finish guidance, and installation coordination to help you focus a kitchen update on the changes that matter most. Visit Jennifer Gilmer Kitchen & Bath to arrange a showroom consultation and bring your budget priorities, photographs, and everyday wish list into the conversation.