.avif)

You're standing in a showroom with a dozen cabinet doors in front of you. Two whites look nearly identical, the oak sample changes character every time you move it, and the dark satin door already seems to be collecting fingerprints. Under showroom lighting, the choice can feel like a color decision. In a real kitchen, it's a performance decision.
The right finish has to tolerate grease near the range, steam from the dishwasher, children's hands, repeated wiping, and the humidity swings familiar to homes throughout Washington, DC, Maryland, and Virginia. It also needs to support the character of the room, from a Chevy Chase Colonial to an Arlington condominium. Jennifer Gilmer Kitchen & Bath approaches finish selection as part of the complete design, not as the last color chip chosen after the layout is finished.
Table of Contents
- Inspect the sample in changing light
- Use your hands and eyes
- Test likely trouble spots
- Live with the door
- Ask about the finish system
- Ask about the substrate and repair plan
- Ask the uncomfortable budget questions
Why Kitchen Cabinet Finishes Matter More Than Color Alone
A cabinet finish is the surface your household touches every day. The color establishes mood, but the finish chemistry determines how that color behaves after cooking, cleaning, and years of use. Catalyzed conversion varnish, waterborne polyurethane, and traditional lacquer can produce very different results even when they're applied to the same wood and tinted to the same shade.
Near a cooktop, airborne grease settles on doors and the edges around pulls. Above a dishwasher, repeated steam exposure tests the coating and the substrate. In a family kitchen, sticky fingers make a dark, smooth surface reveal every touch while a textured or softer-looking finish can disguise minor wear. Those aren't abstract distinctions. They affect how often you clean, how carefully you use the room, and whether a future touch-up will blend into the surrounding door.
The finish controls the daily experience
Sheen matters as much as color. High gloss reflects light and sharpens the appearance of a contemporary door, but it also highlights smudges, fine scratches, and uneven surfaces. Very flat finishes soften reflection and can conceal small imperfections, although some matte coatings require more care when grease bonds to the surface. Satin and eggshell sheens are often the sensible middle ground, because they provide enough reflection for practical cleaning without announcing every mark.
Texture changes the conversation again. A wire-brushed oak door gives you visible grain and tactile movement. A factory-sprayed painted door feels more uniform and architectural. A hand-brushed surface introduces variation that may be exactly right for a historic home, but it won't imitate the quiet precision of a factory-applied coating.
Practical rule: Choose the finish based on the hardest work your kitchen will do, not the easiest day it will have.
Application quality is part of the specification
A finish applied in a controlled shop environment generally offers more consistent film thickness, edge coverage, curing, and color than paint applied after installation in a dusty work area. The substrate matters, too. MDF can produce a smooth painted surface, while solid wood moves with seasonal moisture changes and may show joints or grain through an opaque coating.
Cabinet finishes sit inside a substantial cabinetry supply chain. The National Kitchen & Bath Association reported $30.3 billion in U.S. cabinetry value in 2017, including $19.9 billion for kitchens and $10.4 billion for baths, with product and materials counted separately from labor, design, and installation, as summarized by this cabinetry market overview. That context matters because finish selection affects manufacturers, designers, remodelers, and homeowners alike.
The global kitchen cabinet market is also commercially significant. A 2026 industry projection cited in the same market reporting placed revenue at $107.86 billion in 2025 and $115.64 billion in 2026, reinforcing why finish systems receive serious technical attention rather than being treated as decoration alone. The showroom conversation should therefore move from “Which color do you like?” to “How will this surface live in your home?”
The Main Types of Kitchen Cabinet Finishes Explained
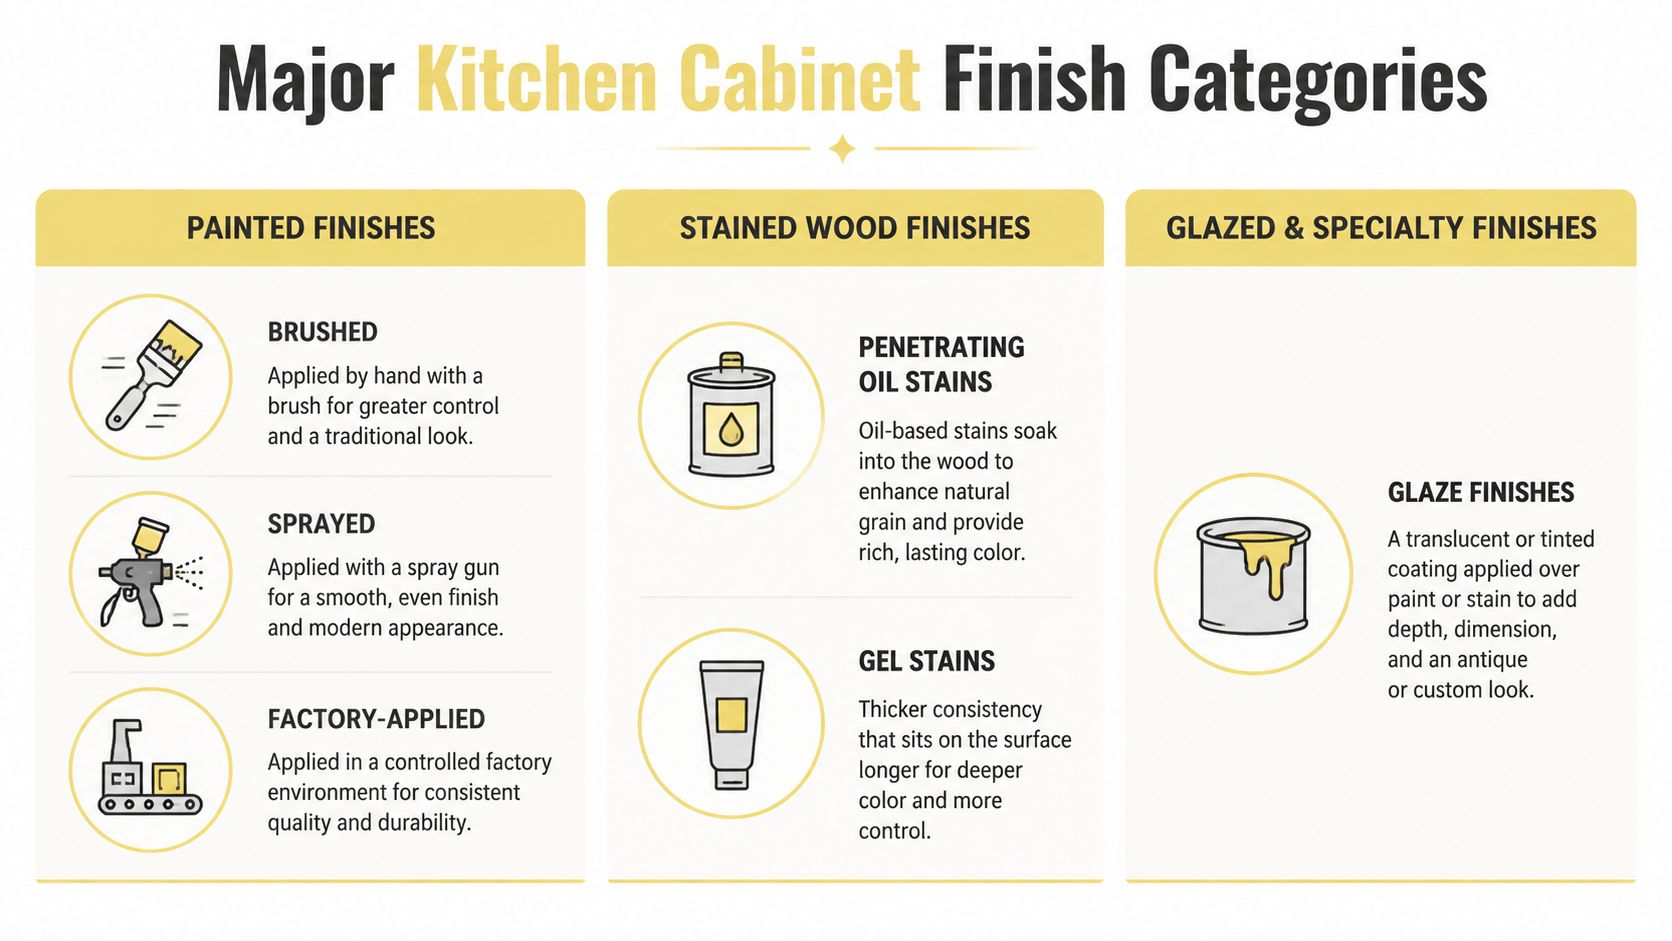
Cabinet finish categories overlap, so I start with the visible result and then look underneath at application and protection. A painted door, for example, may be brushed on site, sprayed by a specialist, or factory-cured with a highly controlled topcoat. Those are not interchangeable experiences.
Painted finishes
Paint creates the most uniform color field. A sprayed factory finish can feel smooth and refined, with consistent coverage across rails, stiles, panels, and edges. A brushed finish shows the hand of the artisan, which can suit a traditional or farmhouse setting, but brush direction and buildup become part of the appearance.
Opaque paint conceals much of the wood's natural variation, though open-grained species can still telegraph texture unless the doors receive additional preparation. For homeowners weighing a do-it-yourself refresh, this guide to what paint to use on kitchen cabinets offers a useful comparison of cabinet paint approaches. My view is direct: site painting can work for the right project, but factory-applied or professionally sprayed systems are the safer choice when you expect a furniture-like result.
Stained wood finishes
Stain works with the wood rather than against it. Penetrating oil stains soak into the substrate and emphasize grain variation, while gel stains sit closer to the surface and can create more controlled color on difficult woods. Both depend heavily on consistent wood selection, because knots, cathedral grain, and changes in density remain visible.
A stained oak kitchen feels warmer and more organic than a painted kitchen. That warmth comes with responsibility. Doors must be specified from compatible stock, and the sample should represent the actual species and cut rather than a generic color chip.
Glazed and distressed finishes
Glaze adds a contrasting layer into recesses, profiles, and joints. It gives a door more dimension and can make a raised panel read beautifully in a traditional kitchen. Distressing adds intentional marks, rubbed edges, or other signs of age.
These finishes are highly dependent on hand skill, so they usually bring more cost and lead time. They also make future matching difficult. If a corner wears through, a repair needs to recreate both the base color and the glaze pattern.
Laminate and thermofoil
Laminate and thermofoil provide a clean, consistent surface and can be practical for budget-conscious projects. Thermofoil wraps a molded surface, while laminate is bonded to a stable panel. Both offer strong visual uniformity, but repairability is limited. Once thermofoil begins to delaminate, it generally can't be patched invisibly.
Clear topcoats complete many of these systems. Conversion varnish is selected for hardness and chemical resistance, waterborne polyurethane reduces emissions while offering useful protection, and catalyzed lacquer occupies a middle ground in some specifications. Traditional lacquer can look elegant and feel smooth, but it doesn't provide the same everyday protection as conversion varnish. In the DC metro area, seasonal humidity also makes substrate movement and finish adhesion important, especially on solid wood doors.
For cabinet construction and door selection, the difference between custom and semi-custom cabinets can help clarify how much control you'll have over species, profiles, and finish development.
Durability and Maintenance Across Different Finishes
A busy kitchen doesn't test a finish in one dramatic event. It tests the surface through thousands of small contacts, splashes, wipes, impacts, and temperature changes. Near the range, grease is the main concern. Around the dishwasher, steam and moisture matter. On an island, fingerprints and edge wear usually tell the story first.
Conversion varnish is my durability choice for demanding kitchens. It cures into a hard, chemically resistant coating and is widely used where cabinets face frequent cleaning, humidity, heat, and abrasion. Cabinet-finishing guidance reports that a topcoated surface can resist wear about five times better than paint alone, with painted surfaces beginning to fail around 20 abrasion cycles while well-built topcoated systems can exceed 100 cycles, as described in this cabinet topcoat durability guide. The same guidance commonly recommends 3–4 finish coats to build film thickness.
A practical comparison
The ratings below are qualitative. They assume a properly prepared substrate and a professionally applied system, not a thin coat brushed over a greasy door.
| Finish Type | Moisture Resistance | Scratch Resistance | Heat Tolerance | UV Stability | Ease of Cleaning | Repairability |
|---|---|---|---|---|---|---|
| Conversion varnish | Excellent | Excellent | Excellent | Very good | Excellent | Moderate |
| Waterborne polyurethane | Very good | Very good | Good | Good | Very good | Moderate |
| Catalyzed lacquer | Very good | Very good | Good | Good | Very good | Moderate |
| Traditional lacquer | Moderate | Moderate | Limited | Moderate | Moderate | Good for local touch-ups |
| Factory-painted finish | Very good | Good to very good | Good | Good | Very good | Good |
| Site-applied paint | Variable | Variable | Variable | Variable | Moderate | Good |
| Stained and topcoated wood | Very good | Good to very good | Good | Depends on system | Very good | Moderate |
| Thermofoil | Very good when intact | Good | Limited near strong heat | Good | Excellent | Poor |
| Laminate | Excellent | Good to very good | Good | Good | Excellent | Poor to moderate |
For independent documentation and a useful way to evaluate durability claims, consult these durability evidence resources. The important question isn't only what the label says. Ask whether the coating has been tested on the actual substrate, profile, and cleaning conditions you'll use.
Cleaning habits decide longevity
Use a soft microfiber cloth and a mild, non-abrasive cleaner suited to the manufacturer's topcoat. Avoid ammonia-based products when the coating supplier warns that ammonia can degrade the finish. Abrasive pads can dull satin surfaces and create a patch of uneven sheen.
Households with children should wipe high-touch areas frequently rather than allowing residue to accumulate. Heavy cooks should pay special attention to the doors beside and above the range. In a rental, I prioritize a hard, forgiving coating and a sheen that conceals ordinary use. For humid rooms, edge sealing and consistent ventilation matter as much as the face finish.
Factory-cured systems generally outperform site-applied paint. One finish guide reports factory-finished cabinets lasting 15–20 years, while site-painted cabinets may need touch-ups in 3–5 years, particularly when exposed to demanding conditions, as discussed by this cabinet finish comparison. Treat that as a specification conversation, not a promise. The installer, substrate, preparation, and maintenance routine all influence the result.
Matching Finishes to Kitchen Styles and Hardware
A finish should belong to the architecture, not fight it. A polished contemporary door can look perfectly at home in an Arlington condominium, while a softly painted or glazed cabinet usually feels more natural in a Chevy Chase Colonial or a Georgetown Federal-style house. The goal isn't historical imitation. It's visual agreement between the home, the cabinetry, and the people using it.
Start with the architecture
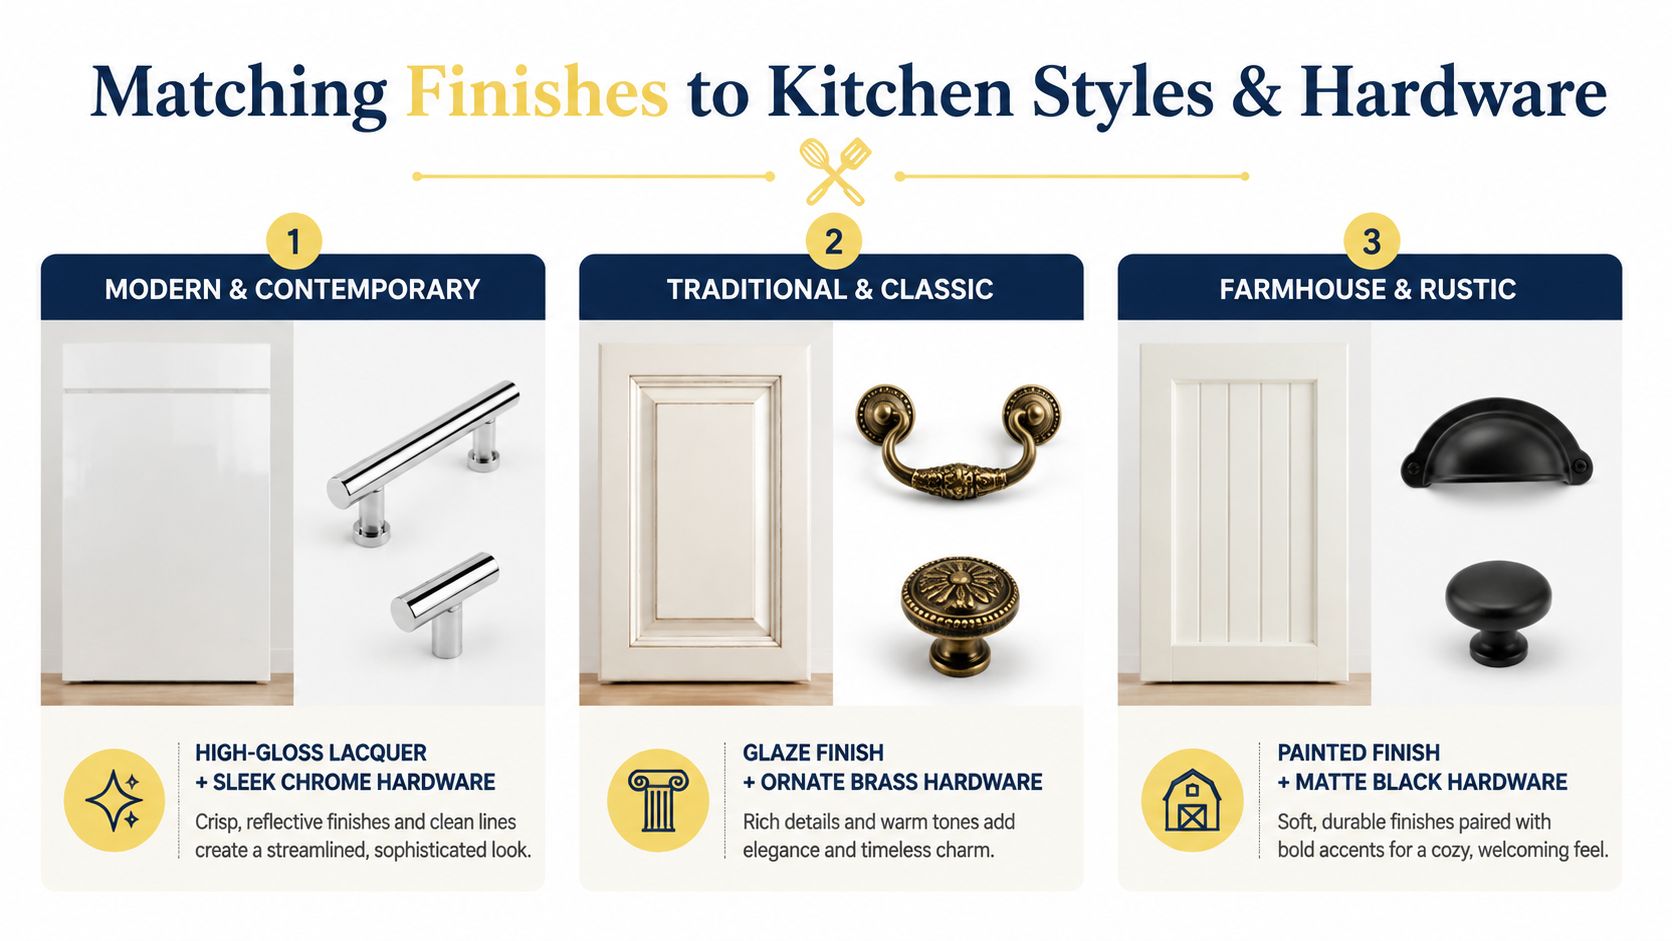
Modern and transitional kitchens can carry a high-gloss lacquer when the room has clean lines, restrained profiles, and a controlled palette. The reflection adds energy, but it should be balanced with quieter stone, wood, or plaster elements.
Traditional rooms usually benefit from satin, eggshell, or matte surfaces. A glaze can emphasize a furniture-style door, though ornate hardware paired with a highly reflective cabinet often looks overworked. In rustic or farmhouse settings, painted cabinets with visible texture can pair naturally with matte black hardware and natural wood accents.
Coordinate sheen, temperature, and metal
Brushed brass brings warmth and tends to look considered against warm white, taupe, oak, and muted green. Polished nickel introduces a cooler, brighter note and works well with gray, blue, and crisp painted finishes. Matte black creates graphic contrast, especially against lighter paint, but it can feel severe when every other element in the room is already dark.
Reflective cabinet surfaces amplify hardware contrast. Matte surfaces make the relationship quieter, so the shape of the pull becomes more important than its shine. I'm cautious about oil-rubbed bronze against cool-toned lacquer, because the warm, aged metal and the slick, cool cabinet can pull in separate directions.
Read the room through the day
North-facing light can make cool paint appear grayer and can flatten the warmth of wood. South-facing light brings stronger warmth and may intensify yellow, red, or honey notes. East-facing rooms shift dramatically between bright morning light and a quieter afternoon, while west-facing rooms often become warmer later in the day.
Hold hardware against the actual door sample, then view both beside the countertop and backsplash. The guide to kitchen cabinet hardware styles is useful when you're comparing pull proportions, finishes, and placement. A cohesive kitchen usually has one dominant visual language, with contrast used deliberately rather than added at every surface.
Choose the cabinet sheen first, establish the color temperature second, and select hardware that supports both. That sequence prevents the common mistake of falling in love with a metal finish before understanding how it will behave against the cabinetry.
Sustainability and Indoor Air Quality Considerations
Finish chemistry affects more than appearance. During curing, coatings release volatile organic compounds, and cabinetry can become a meaningful source of indoor emissions in a tightly sealed home. Solvent-based finishes generally release more VOCs during curing than water-based systems, although performance and formulation vary by manufacturer.
The practical distinction is clear in the available finish data. Conventional solvent-based systems commonly measure around 380–450 g/L VOC, while low-VOC water-based finishes typically fall under 50–100 g/L, and zero-VOC products can be below 5 g/L, according to this low-VOC cabinet finish resource. For low-VOC products, the same source describes materially reduced off-gassing during the first 24–48 hours, compared with weeks to months for conventional solvent systems.
Compare the whole system
A lower-emission coating doesn't automatically make a cabinet environmentally responsible. Look at the substrate, adhesives, finish, manufacturing process, and third-party certifications together. GREENGUARD and CARB2 documentation can help distinguish tested claims from vague language, while formaldehyde-free substrates and plant-derived resins may further reduce concern depending on the product specification.
| Finish Type | VOC Level | Certifications | Off-Gassing Period | Durability Trade-Off |
|---|---|---|---|---|
| Solvent-based lacquer | High during curing | Verify product-specific documentation | Can continue for an extended period | Attractive appearance, less chemical resistance than conversion varnish |
| Conversion varnish | Higher during application and curing | Verify product-specific documentation | Requires controlled curing and ventilation | Excellent durability |
| Waterborne acrylic | Lower than conventional solvent systems | Look for third-party certification | Generally shorter than solvent systems | Durable, with performance dependent on formulation |
| Water-based polyurethane | Low to moderate | Look for third-party certification | Generally shorter than solvent systems | Good scratch resistance and practical protection |
| UV-cured finish | Product-specific | Verify manufacturer documentation | Controlled factory curing | Strong consistency, limited to suitable manufacturing processes |
Humidity and temperature in the DC metro area can influence how quickly a finish cures and how long odors linger. During installation, ventilate the space according to the manufacturer's instructions, keep children and pets away from curing surfaces, and don't rush occupancy just because the doors feel dry.
Waterborne acrylics and water-based polyurethanes have become more common as manufacturers seek to reduce VOC emissions while retaining useful durability, a transition discussed in this overview of wood finish chemistry. Catalyzed conversion varnish remains a strong choice for demanding kitchens, so the responsible decision is not always the finish with the lowest stated emission. It's the system that meets indoor-air priorities without creating premature replacement or repair.
For broader material and sourcing considerations, this greener kitchen checklist can help organize questions about cabinetry, finishes, and related selections.
Your Showroom and Sample Testing Checklist
A small sample can mislead you. Cabinet doors have edges, profiles, corners, and broad flat fields that catch light differently, so request a full-size door whenever possible. Then test it as though it already belongs to your kitchen.
Inspect the sample in changing light
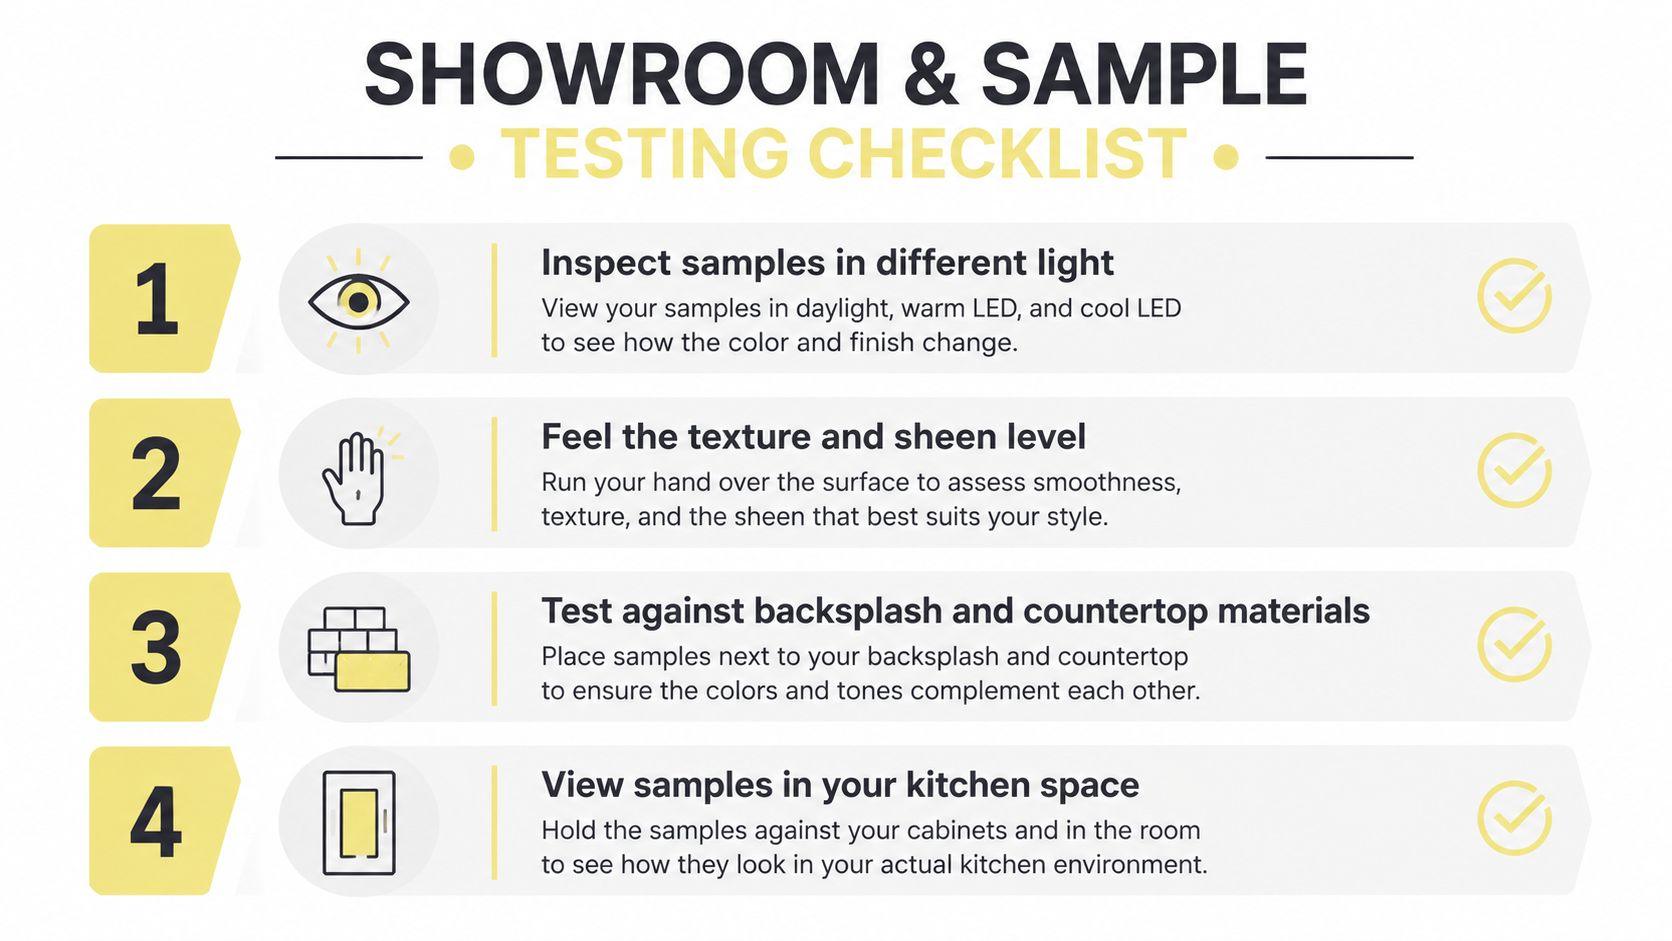
Move the door near a window during daylight. Return to it under warm LED lighting, then view it under a cooler artificial source. Watch for shifts in undertone, especially with whites, grays, green-gray paints, and stained oak.
Do this with the hardware attached if possible. A brass pull can make a paint appear warmer, while polished nickel can emphasize blue or gray notes.
Use your hands and eyes
Run your fingers across the surface. A smooth sprayed finish should feel consistent across the panel and edges. A wire-brushed or distressed finish should feel intentional, not rough where the coating has failed.
Press a clean fingertip onto matte and satin samples, then wipe the mark away with the recommended cloth. You're not trying to abuse the sample beyond reason. You're checking whether the surface shows ordinary contact and whether it cleans without a visible halo.
Test likely trouble spots
Ask the designer or manufacturer what testing is appropriate before using keys or utensils. If the sample is approved for it, test an inconspicuous area, then inspect the result in angled light. For moisture, place a damp cloth on a small area for several minutes and follow the supplier's care instructions afterward.
Check the corners, routed profiles, and door edges closely. Finish consistency often matters most where the eye catches a transition.
Live with the door
Take the sample home and leave it in the kitchen for at least 48 hours. Place it vertically beside the countertop, backsplash, flooring, and existing trim. Photograph it at different times of day, and record fingerprints, reflections, undertones, and cleaning observations rather than trusting memory.
The broader guide to choosing kitchen cabinets can help you evaluate the door as part of the complete cabinet specification. Finish decisions become easier when you judge the sample alongside construction, storage, proportions, and hardware.
Questions to Ask Your Designer or Remodeler
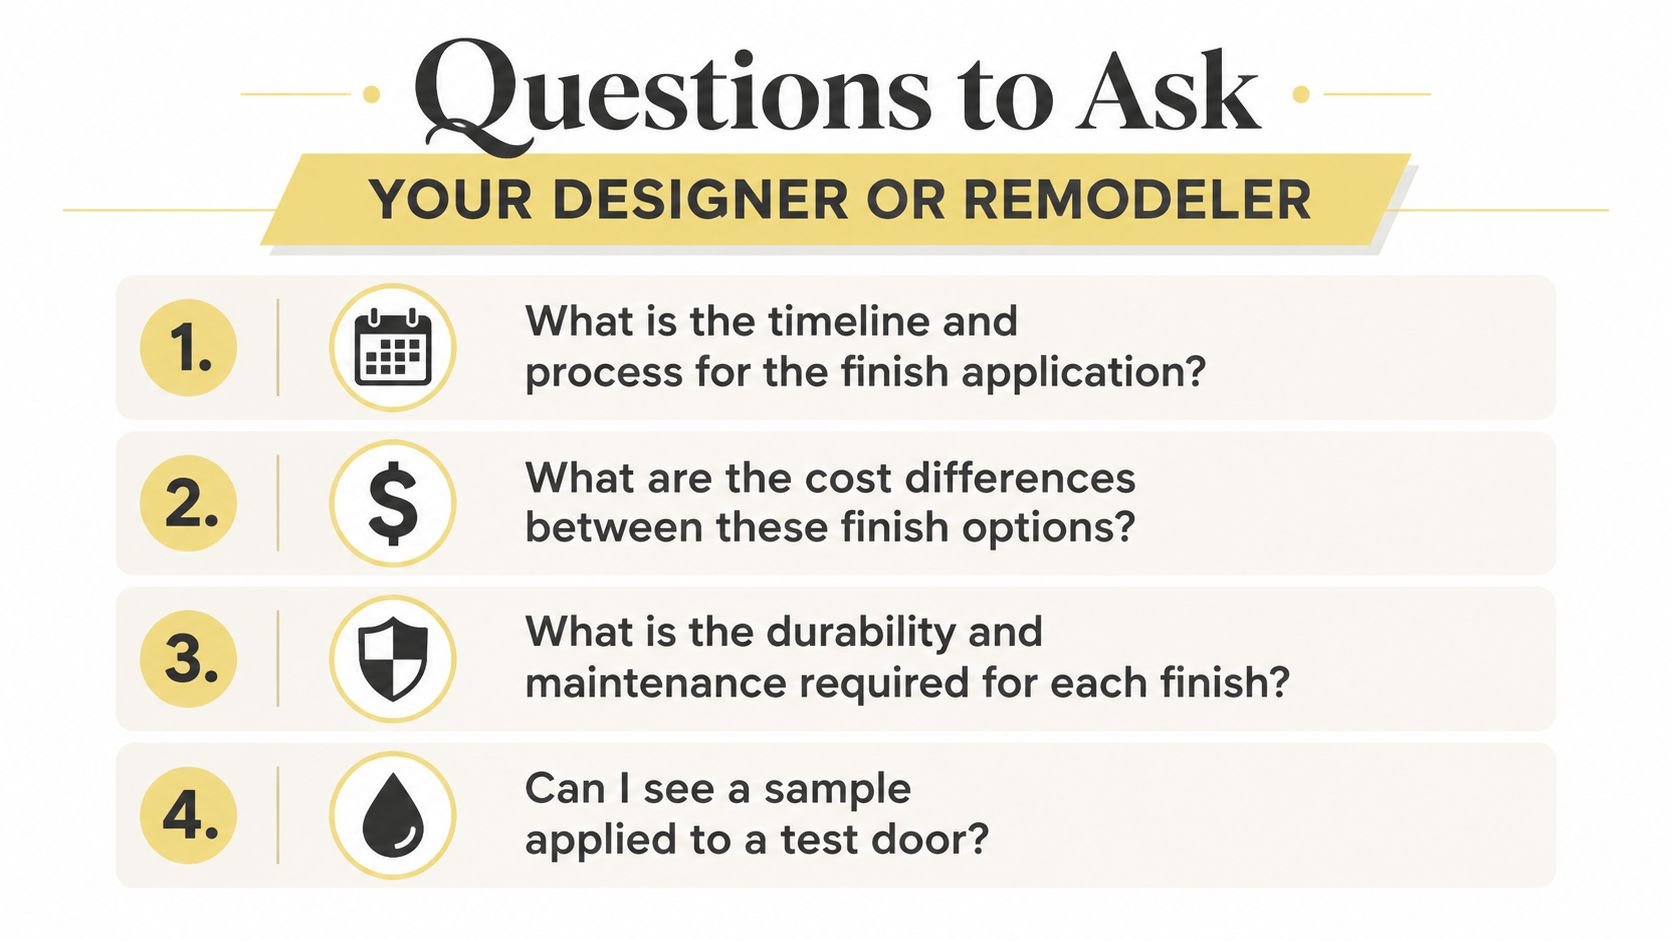
A finish sample tells you what a door looks like. It doesn't tell you who applied the coating, how it will be warranted, or what happens when an edge gets damaged during installation. Ask those questions before you approve the order, not after the first problem appears.
Ask about the finish system
- What exactly is on the door? Ask whether the system uses catalyzed conversion varnish, water-based polyurethane, water-based lacquer, traditional lacquer, or another coating.
- How is it applied and cured? Custom sprayed and factory-applied finishes have different processes, lead times, and consistency expectations.
- What does the warranty cover? Clarify whether it includes peeling, cracking, fading, discoloration, delamination, and premature failure under normal household use.
Ask about the substrate and repair plan
The cabinet box and door material should suit the finish. Ask whether the door is MDF, plywood, solid wood, or a combination, and why that substrate was selected. Solid wood can display movement and grain variation, while MDF often supports a smoother painted field.
Request a physical sample applied to a test door, not only a small color chip. Ask to see that door vertically in your kitchen's actual lighting, then request references from clients who chose the same finish. A credible remodeler should be able to explain how the shop handles touch-ups after installation and who takes responsibility if a finish fails prematurely.
Ask the uncomfortable budget questions
Find out how much the finish adds to the project, whether glazing or distressing changes lead time, and whether a harder coating requires specialized application. Ask how the finish will be cleaned, which products are prohibited, and whether future touch-ups can be blended on site.
These questions protect more than the budget. They connect the cabinet surface to your household, your maintenance habits, and the long-term character of the room. A professional team should help you choose the finish that fits the way you cook and live, not just the sample that photographs well.
Jennifer Gilmer Kitchen & Bath guides homeowners through cabinet selection, finish samples, hardware, space planning, and installation coordination from concept through completion across Washington, DC, Maryland, and Virginia. Visit Jennifer Gilmer Kitchen & Bath to schedule a showroom conversation and evaluate kitchen cabinet finishes with a team that can connect the surface choice to the entire room.