
Say you're standing in your primary bath on a Tuesday morning, coffee going cold on the vanity, and you've just noticed the step into the shower is higher than you remembered. Nothing in the room changed. What changed is you, or the parent who moved into the guest room last spring, or the knee scheduled for replacement in March.
That's usually the moment someone starts searching for a universal design bathroom remodel and finds two kinds of advice: lists of grab bars that make the room look clinical, or vague promises about aging in place. Neither helps you plan a bathroom you want to use. Good universal design is a set of dimensions and decisions that disappear into a well-built room. The hardware can arrive later. The thinking has to happen now.
Table of Contents
- Dimensions That Shape a Universal Design Bathroom
- How to Plan the Layout Before Demolition
- Choosing the Shower
- How to Place Grab Bars Without Reopening Walls
- Doorways, Toilet Zones and Lighting Layers
- Confirm Permits and Crew Before Demolition Begins
Dimensions That Shape a Universal Design Bathroom
The toilet clearance is the first dimension to measure, usually before tile or a faucet order. A plan can look resolved with finishes and still leave a walker transfer with nowhere to happen. In a universal design bathroom remodel, measurements come first and finishes follow them. What keeps the room looking like a primary bath rather than a medical retrofit is how the rough-in separates what is built now from what can be added later: blocking in the walls for bars that may arrive in a few years, a drain and valve height that work today, and framing that leaves the clearance intact.
In the 2024 AARP Home and Community Preferences Survey, 43% of adults aged 50 and older said they expected to modify their current home so they could continue living there. That is a large share of households deciding now what a bathroom must do for them, and the numbers below belong in the first conversation, not the last.
Key Dimensions for a Universal Design Bathroom
| Element | Target Dimension | Why It Matters |
|---|---|---|
| Grab bar height | 33 to 36 inches above finished floor, measured to top of gripping surface | Matches reach from standing and seated positions |
| Grab bar wall clearance | 1.5 inches | Reduces entrapment risk and keeps grip space open |
| Projecting objects above grab bars | 12 inches minimum clearance | Keeps controls and shelves from blocking hand placement |
| Accessible toilet centerline | 16 to 18 inches from side wall | Aligns the user with the side grab bar |
| Toilet clear floor area | About 60 inches wide by 59 inches deep | Supports side or diagonal transfer |
| Side grab bar at accessible toilet | At least 42 inches long, within 12 inches of rear wall | Gives support during sitting and standing |
| Rear grab bar at accessible toilet | At least 36 inches long | Completes the support around the fixture |
| Wheelchair-accessible shower clear floor | 30 by 60 inches adjacent to open face | Allows approach and transfer without obstruction |
| Doorway clear width | 32 inches minimum; 36 inches preferred | Accommodates wheelchairs, walkers and caregivers |
Treat every value in that table as a floor, not a ceiling. Bar length and location drive wall framing, toilet placement, tile layout and where the towel ring lands, which is why the Access Board's chapter on accessible toilet rooms treats those dimensions as a planning input rather than a finish selection.
In a private home, a room can meet every row and still fail the person using it. A clearance sized for a public stall does not account for a spouse helping with a bathing transfer, or for a wheelchair turning around a vanity. How deep the vanity runs is usually the first thing to give because it can hand back a foot of floor without moving plumbing. If a walker or chair is likely within five years, frame the wall for a longer grab bar now and leave the tile repair for the day the bar goes in.
The rule I use: if a dimension can be fixed with a finish, it is a design choice. If it can only be fixed with framing or plumbing, it is a decision.
Print the table onto one sheet and walk the room with a tape measure. Mark each row met or not met, and circle anything within an inch of failing. That sheet becomes the brief for the rest of the project, and it is far cheaper than discovering the same rows after tile.
How to Plan the Layout Before Demolition
Start with the people who use the room, not the fixtures that will fill it. The planning horizon is usually longer than clients think: in 2025, 47% of homeowners surveyed by Houzz said they were planning for accessibility needs expected to arise in five or more years, while 31% were addressing current household needs, as reported in Pro Builder's coverage of the survey. A good plan answers to both groups at once, the person in the room today and the one who will use it in 2032.
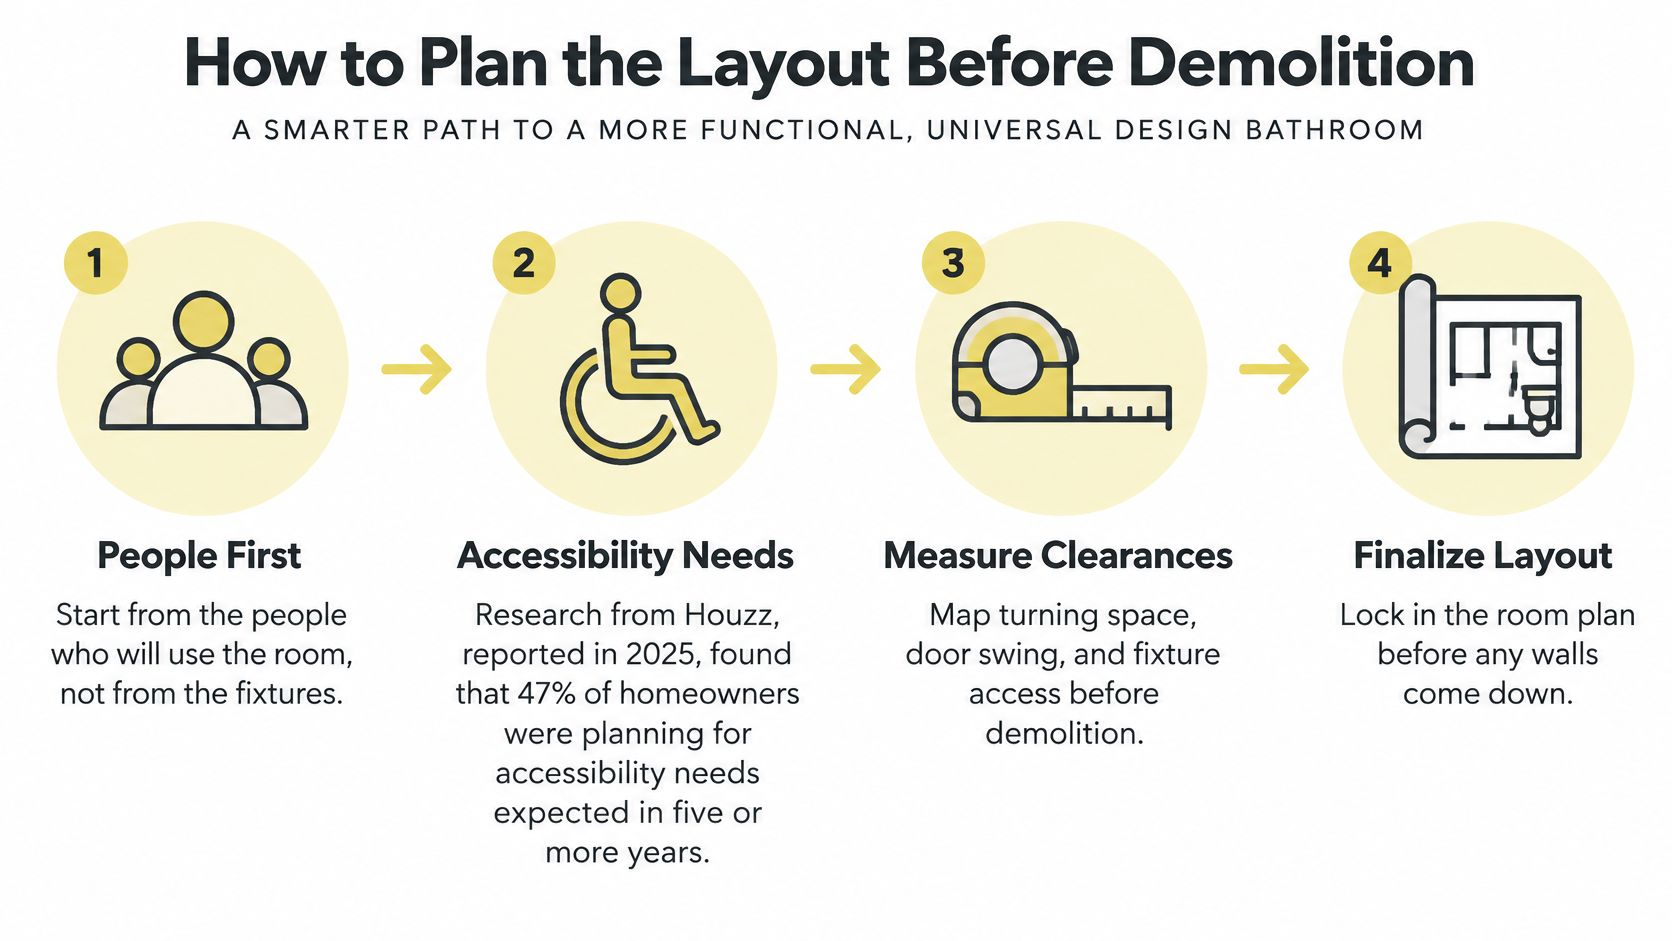
Five steps that hold up
- Interview the primary user, and any caregiver. Ask how they transfer, how far they reach comfortably, what mobility aid they use, and how the bath fits into their morning. A niche set at shoulder height works for a tall adult standing and is useless to someone seated on a bench.
- List the changes likely in the next five to ten years. A walker, a shower seat, less standing tolerance. These arrive in stages, and each stage has different space demands.
- Draw the plan at full scale. Door swings, vanity depth, the toilet zone, the shower opening. The Access Board's guidance on toilet rooms is direct about this: draw the proposed plan at full scale and verify clearances before demolition, not during it.
- Check every clearance against the drawing. Mark in red any element that overlaps a required zone. A bench that swings into the shower transfer area is a fail even if the dimensions on the sheet look correct.
- Coordinate the trades before the drawing is final. Plumbing locations, blocking, waterproofing, electrical circuits and door swings all get settled together. Changing a drain location after rough-in costs more than changing it on paper.
Then run the only test that really counts: can the intended user move from the entry to the toilet, the sink and the shower without help and without stepping around anything?
What you build now and what you rough in for later
The mistake in most accessibility advice is treating the room as though it must be finished for a wheelchair on day one. It shouldn't. Separate the visual from the structural.
- Blocking goes in every remodel, at the shower walls and beside the toilet, whether or not bars are part of today's scope.
- Reinforced wall areas where a bar might land in ten years, marked on the drawing so nobody has to guess later.
- Door framing that allows a change, wide enough that a pocket door or a wider opening can happen without rebuilding the wall.
- Electrical capacity for layered lighting now and assistive equipment later.
- Visible features only when the household needs them today, such as a seat, a handheld spray or a bar in the shower.
That split is why the finished room reads as a refined primary bath rather than a medical retrofit. The hardware that would give it away can be added in an afternoon when it's needed, provided the walls behind it were built to receive it.
Choosing the Shower
Most clients arrive with a conclusion already formed: curbless is the safe choice, so curbless it is. The honest answer is that a zero-threshold shower is the right answer for some rooms and a drainage problem for others, and the decision deserves more than a preference.
Curbless isn't automatically the universal answer, either. Wet rooms appeared in roughly one-sixth of renovated bathrooms in recent U.S. reporting, and accessibility was only one motivation; space efficiency and aesthetics drove the choice just as often, according to NAR's look at the universally designed bathroom. The same reporting shows homeowners ranking low-curb showers ahead of fully curbless ones, which tells you the premium option isn't always the practical one.
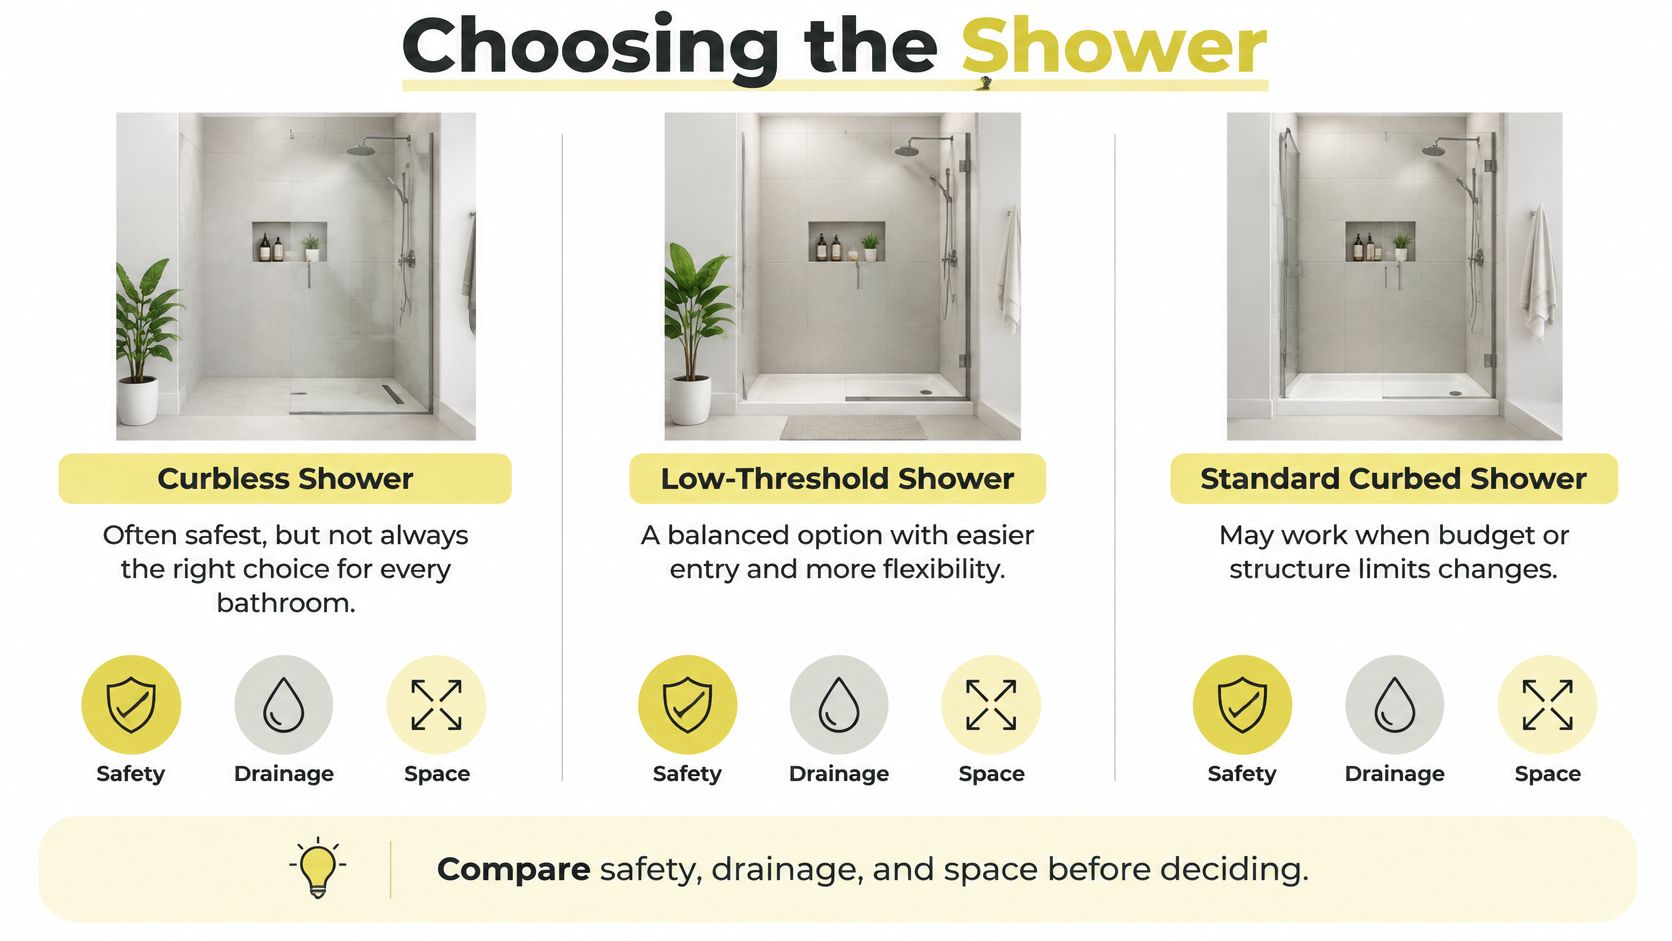
Shower Entry Options Compared
| Option | Entry Height | Slope and Waterproofing | Best Fit |
|---|---|---|---|
| Fully curbless | Flush with bathroom floor | Recessed area sloped toward drain; waterproofing extends across the floor | New construction or full-floor replacement with room for a deeper floor build |
| Low-curb | Raised threshold of about 2 to 4 inches | Slope and waterproofing confined to shower footprint | Existing floors, tighter budgets and homes where the floor cannot be lowered |
| Wet room | Flush across the entire room | Whole-room slope to a linear or center drain | Compact layouts that need space efficiency and a continuous look |
The table can't show the part that decides the project: what the floor structure will allow. A true curbless shower usually means recessing the framing or building the surrounding floor up, and in a second-floor bath over finished space, that has consequences. Where the floor can't drop, a low-curb shower with a carefully detailed threshold delivers most of the safety with none of the structural gamble.
Drain placement follows the same logic. A linear drain sits along a wall or the entry and needs a precise slope to a single line, which suits curbless and low-curb showers where the drain should stay out of the walking path. A trench drain runs across the entry, needs a longer slope run, and shows as a visible line, which suits larger showers with a wide, level approach.
Entry height is only half the design. Seated bathing, a handheld spray on a slide bar, slip-resistant flooring, visual contrast at the threshold and controls, and light that reaches the shower all matter as much as the step. The essential shower dimensions for the enclosure itself set the rest of the geometry. The key question isn't whether the shower should be curbless. It's which access strategy delivers reliable safety within this structure and this budget, and that answer comes from the framing plan, not the showroom.
How to Place Grab Bars Without Reopening Walls
Grab bars are a structural decision made before tile, not an accessory chosen at the end. A shower with no seat needs bars on three walls, and adding a seat changes both the count and the placement, so the shower type you settled on determines where the blocking goes.
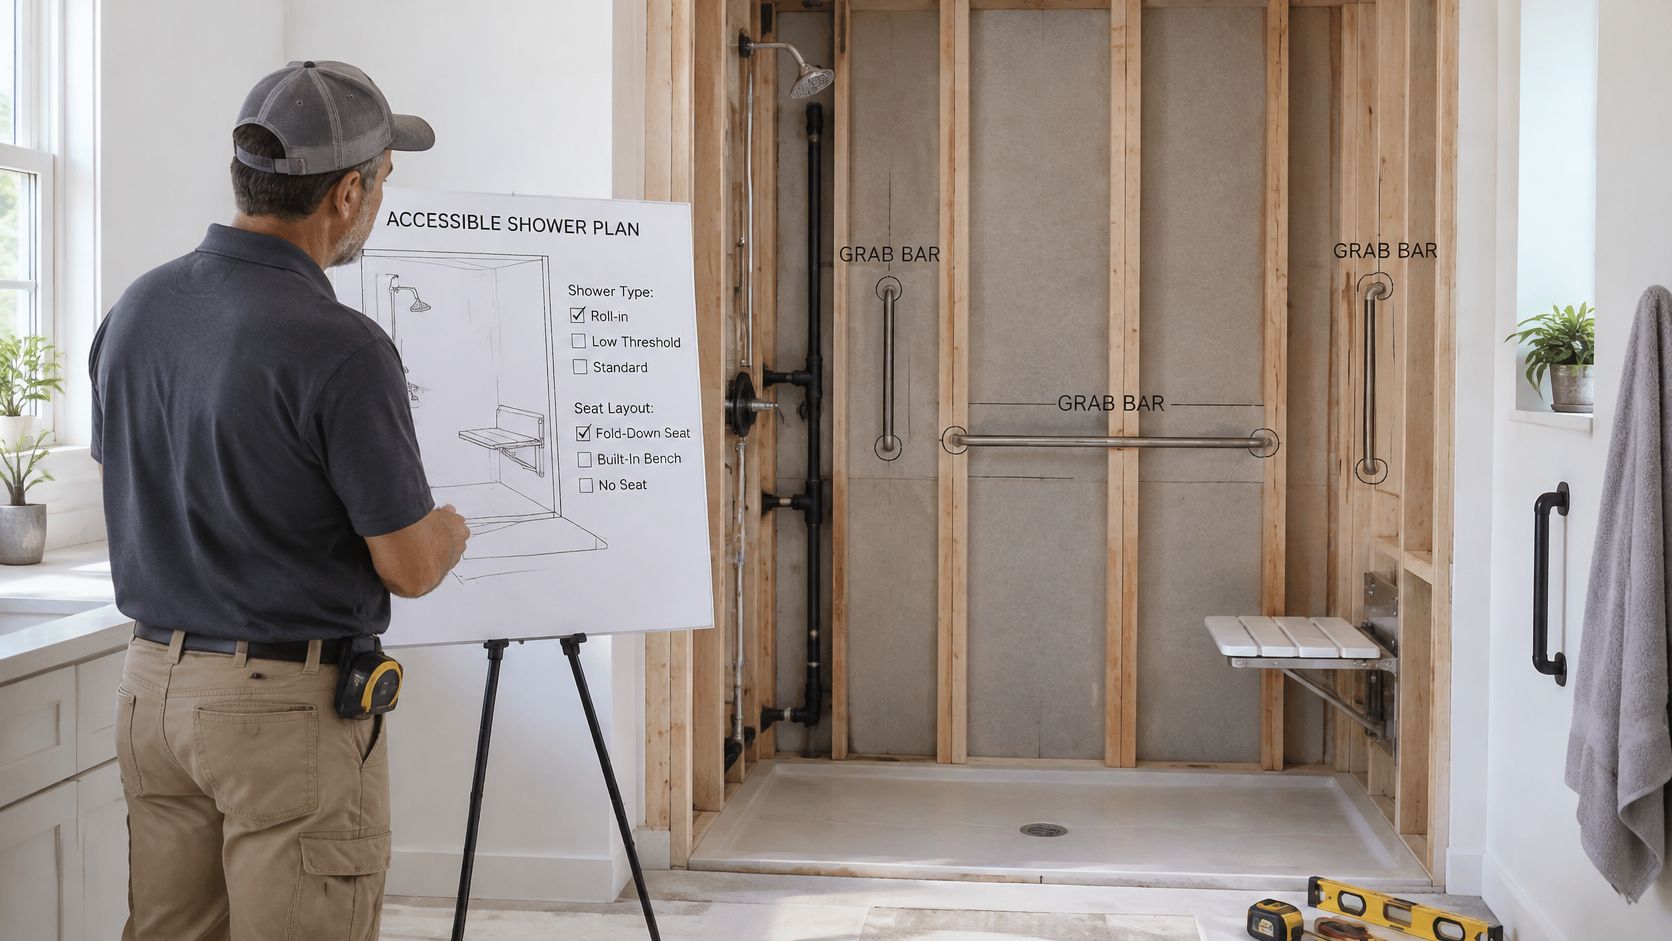
The placement sequence
- Mark the finished floor reference on every wall. One shared line means every bar height is measured from the same datum instead of from a tile course someone eyeballed.
- Mark the shower entry, the seat or transfer zone, and the control wall. These three points decide which walls carry bars and which carry nothing.
- Specify bar lengths and positions against the dimension sheet from earlier in this guide, including the side and rear bars at the toilet.
- Install continuous blocking behind the wall finish, sized to carry the hardware you've specified. Blocks between studs at a few points aren't the same as a continuous run.
- Verify anchorage after finishes are set and test each bar for rigidity. A bar that flexes under a firm pull will not hold a person mid-fall.
Two failures send a project back to demolition. The first is a bar fastened into tile or drywall with no backing behind it. The second is a shelf, niche or control placed inside the clearance envelope around a bar, which blocks the hand that needs to reach it. The U.S. Access Board's ADA standards also keep projecting objects generally at least 12 inches from the bar for exactly that reason.
Quality control on this is simple and it protects the homeowner for decades. Photograph the blocking before the walls close. Record finished dimensions after installation. Note in the project file where each bar is mounted and what it's anchored to. Even a client who wants no bars today should have the blocking, because opening a finished wall later costs many times what the blocking costs now.
If you're coordinating this with the wider work of supporting a parent at home, making daily tasks easier for parents covers the small changes elsewhere in the house that make the bathroom work better in practice.
Doorways, Toilet Zones and Lighting Layers
The conflict shows up in nearly every primary bath: a 36-inch door swing, a pocket door someone would prefer, and the toilet's clear floor area all competing for the same few feet of wall. Solve them in order, because each one constrains the next. The way to keep all three from reading as medical equipment is to build the allowance now, meaning the framing, blocking and wiring, and choose the visible hardware at the end.
Doors first
A 32-inch clear opening is the minimum that works. 36 inches is the better target, because a walker, a wheelchair and a caregiver walking beside someone all need width, not just passage. An outswing door or a pocket door recovers the floor the swing was eating. A pocket door works cleanly only where no plumbing or fixture sits inside that wall, and where the wall is long enough to swallow the door once it slides open. Decide this before the framing crew arrives, because it is a framing decision wearing a trim decision's clothes.
The toilet zone
The toilet zone is a planning decision, and it comes down to two dimensions. The Access Board's guidance on toilet rooms describes a clear floor area generally 60 inches wide by 59 inches deep around the toilet, allowing approach from side or diagonal transfer positions, with the centerline 16 to 18 inches from the adjacent side wall (Access Board guidance on toilet rooms). Those two numbers decide how far a vanity can project and where a doorway can sit.
When the clearances collide with the room, something moves. Sometimes it is vanity depth. Sometimes the doorway shifts eighteen inches down the wall. Sometimes the shower turns ninety degrees. Draw the version that keeps circulation generous and let the drawing show you which trade-off you are making. That decision costs nothing on paper and a fortune in tile. Jennifer Gilmer Kitchen & Bath designs kitchen and bath projects through this negotiation, and settling it on the plan is far cheaper than settling it the day the toilet gets set.
Lighting in layers
A single ceiling fixture over the vanity leaves the face in shadow and the shower entry dark. Start with even ambient light across the whole room, so there are no dark corners at the shower entry or beside the toilet. Add task light at the vanity in a warm white near 3000K, from above and beside the face rather than directly overhead. Then light the shower and the toilet separately, so edges, thresholds and controls are visible.
Place switches within easy reach, generally 36 to 48 inches above the floor, on the entry side of the door, so the light is already on before anyone crosses the threshold. Rough in a circuit and a switch leg for a future night light on the toilet wall while the framing is still open. It adds very little to the electrical rough-in, and it means a motion sensor or a lit seat can be added later without a drywall repair. That is the whole method in one detail: the capability is there, the hardware is not, and nobody reads the room as clinical.
Where a curbless shower meets a tile floor, the transition detail carries weight it does not get in a standard bath. J.R. Hardwood's tile transition advice is a useful reference for how those seams are handled so the floor stays flush, cleanable and free of a lip that catches a foot.
Confirm Permits and Crew Before Demolition Begins
The permit set and the crew schedule are the last check before demolition. They also decide whether the hidden parts of a universal design bathroom get built correctly: blocking behind tile, waterproofing at the shower, electrical changes at the vanity, and the rough-in dimensions the finish materials will cover.
Start with the building department. Ask which local residential requirements apply, whether the work is reviewed as an alteration or a repair, and which inspections are required for framing, electrical, plumbing and waterproofing. Get the answers before drawings are finalized, because a permit comment is cheap to fix on paper and expensive after rough-in.
It helps to know where the legal baseline sits. The 2010 ADA Standards remain the technical reference designers use for clearances and fixture placement in covered facilities. A private residence is not automatically subject to commercial accessibility requirements, and residential code is a separate conversation. Have both conversations, because the standards explain the intent behind dimensions that local code may not spell out.
Permit drawings should show the blocking locations alongside the fixture layout. That is the part of the plan a framer can build from and an inspector can check while the walls are open. If a grab bar is planned for later, the blocking still belongs in this permit scope.
The build sequence
- Finalize the measured design. No open questions on clearances, door swings or fixture locations.
- Submit permit drawings if your jurisdiction requires them, and build the inspection schedule into the calendar.
- Complete rough-in plumbing, electrical and blocking, then schedule the blocking and rough-in inspections while the walls are still open.
- Run the waterproofing and drain test before tile. Once tile is set, a failed flood test is a demolition event.
- Set grab bars and accessories after the backing is confirmed, not before.
- Install fixtures and check the room against the dimension sheet, row by row, before the punch list closes.
What to ask a contractor: show me the scope in writing, show me where the blocking goes, and tell me who is coordinating fixtures, tile and inspections.
Those three answers separate a builder who has done this before from one who is learning on your project. A contractor who cannot point to the blocking on the drawing will not build the bathroom you planned.
For remodeling projects, a designer or design associate from Jennifer Gilmer Kitchen & Bath visits your home to take precise measurements of the space, and Jennifer Gilmer builds the plan from there. The firm oversees builders and works with contractors to implement the design, and can help you find a contractor if you don't have one. The bathroom remodeling checklist covers the ordering of selections and site work that keeps a project on schedule.
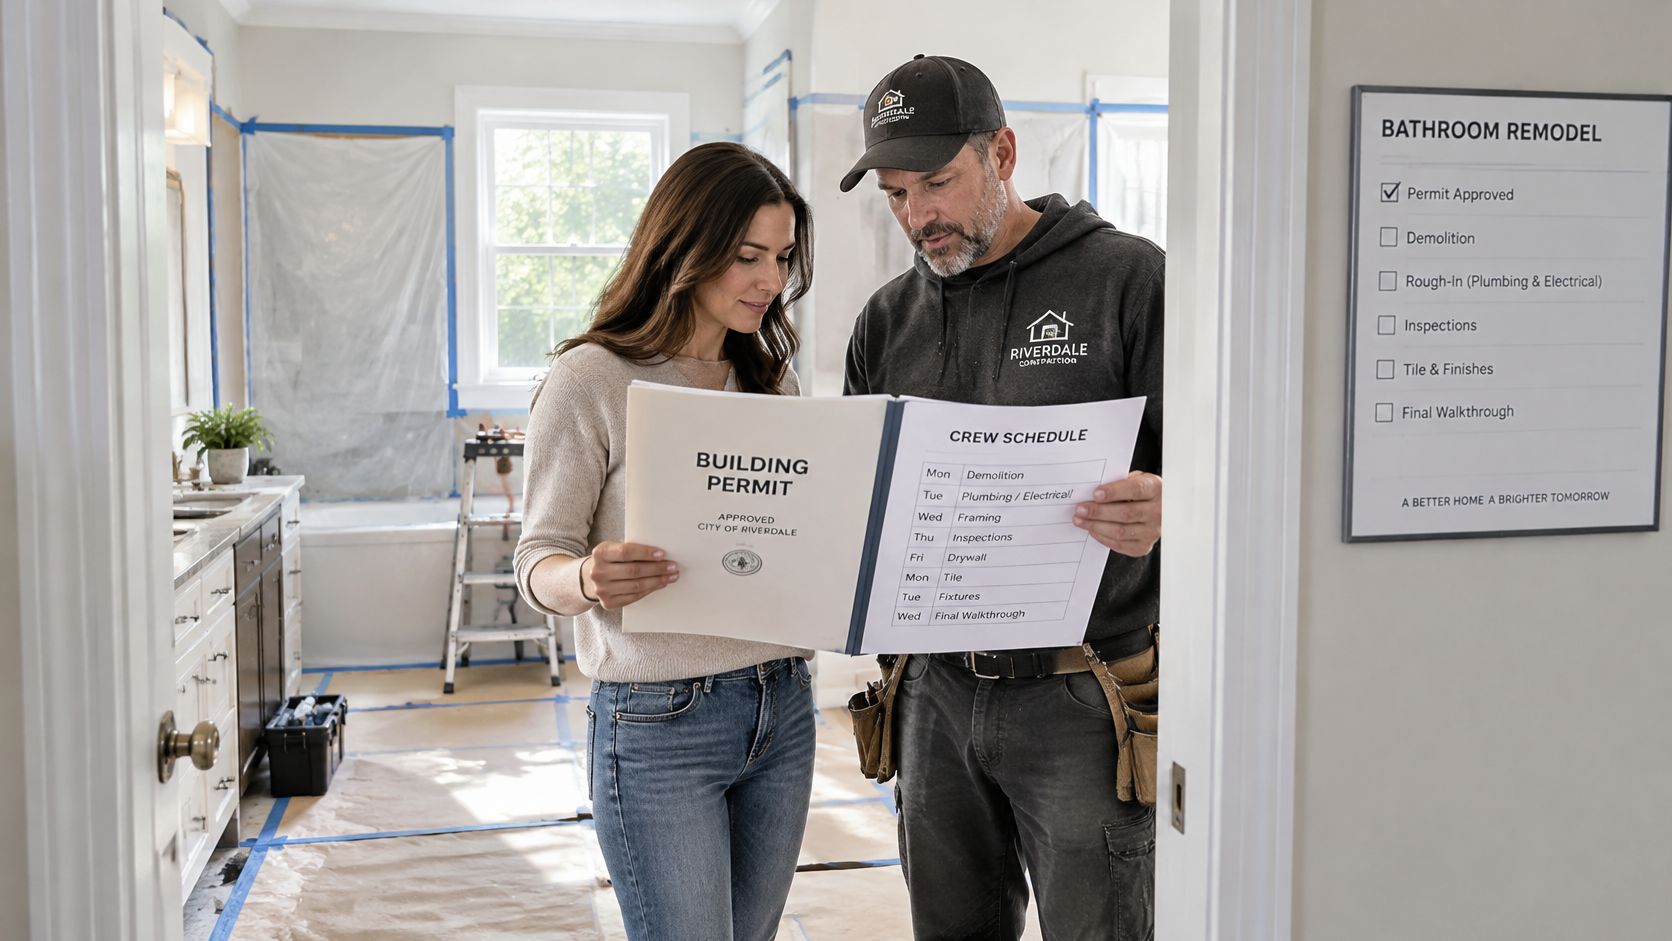
The most useful hour on a universal design bathroom remodel happens in the room itself, with a tape measure, before anyone swings a hammer. That measured visit is the decision point: it turns a rough idea into a plan with clearances you can check, blocking you can point to, and lighting you can stand under. The finished room should read as a refined primary bath. The blocking, waterproofing and electrical work that make it last are concealed behind the finishes.
Jennifer Gilmer Kitchen & Bath designs bathrooms across Washington, DC, Maryland, Virginia and Delaware, handling the room from the first measured plan through installation so clearances, blocking and lighting are settled before demolition rather than discovered after tile. If you're planning a universal design bathroom remodel and want a room that works now and still works in fifteen years, Jennifer Gilmer Kitchen & Bath can walk your space, draw it to scale, and show you the finished result on screen before work begins. Visit Jennifer Gilmer Kitchen & Bath to schedule a consultation at the Chevy Chase, Easton or Ashburn showroom.