
Can two people get ready in your bathroom without competing for the counter, the mirror, or a dry place to stand? If the answer involves timing showers around each other or keeping toiletries in a hallway closet, the problem isn't your tile. It's the planning.
A useful bathroom remodeling checklist doesn't start as a shopping list. It starts with daily routines, then settles layout, specifications, and rough-ins in the order construction will need them. That sequence protects both the design and the budget, because a decision that's easy on paper can become difficult once walls are closed.
At Jennifer Gilmer Kitchen & Bath, serving Washington, DC, Maryland, and Virginia from concept through installation, designers including Jennifer Gilmer, CKD, Nancy McCarren, AIA, LEED AP, and Marie-Josée Parisi work through those decisions with clients step by step. The eight steps below follow that logic. Each one ends with a milestone to confirm before you move on.
Table of Contents
- 1. Layout, Work-Zone Planning, and Project Coordination
- 2. Universal Design and Aging-in-Place Considerations
Steps 1–2 Plan the Room and the Investment
1. Layout, Work-Zone Planning, and Project Coordination
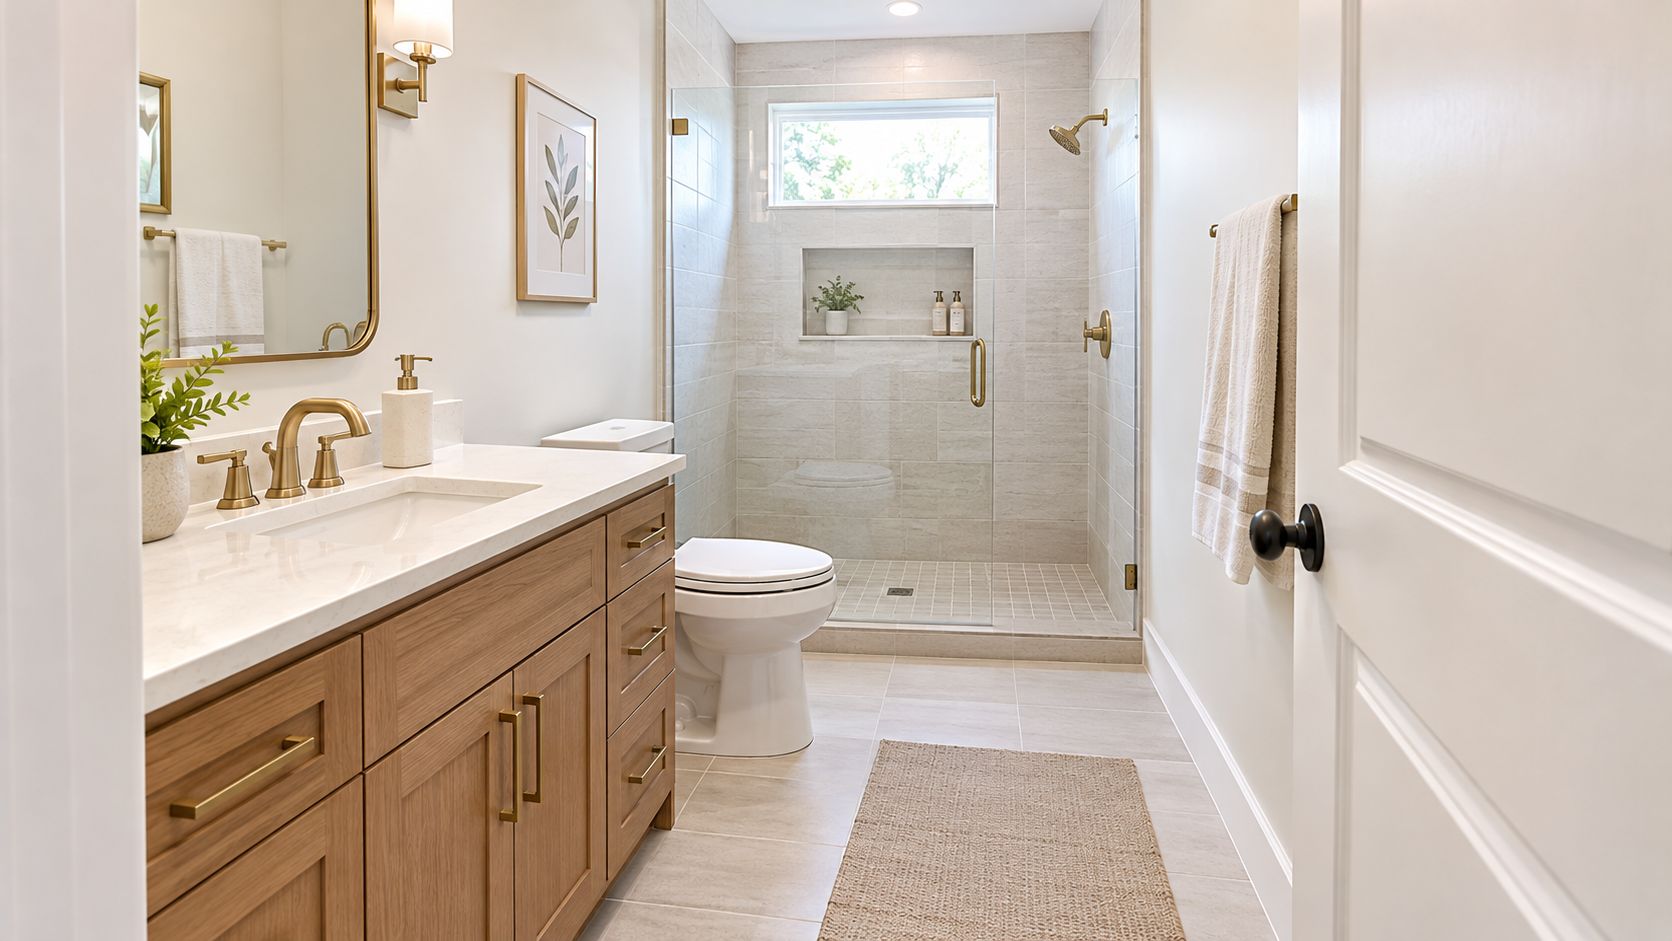
Begin by describing how the room is used. Who's in it at the same time, where do towels land, and what do you see from the doorway? Group the vanity, toilet, bathing, and linen storage into clear work zones, then check the path between them, including door swing and where you'll stand to reach the shower controls.
Measure before you request estimates, and separate fixed decisions like layout and plumbing locations from variable selections like tile and fixtures. That distinction matters because spending varies widely. The 2025 U.S. Houzz Bathroom Trends Study on renovation spending reported a national median of $13,000 for renovations completed in 2024, while major remodels that upgraded the shower area had a median of $22,000, and bathrooms of at least 100 square feet reached a median of $25,000.
- Written scope: State whether this is a cosmetic update or a major remodel, and whether plumbing locations move.
- Itemized budget: List allowances by category and add a project-specific contingency for concealed conditions.
- Permits and deadlines: Assign permit responsibility, set selection deadlines, and confirm requirements locally.
- Temporary arrangements: Decide which bathroom the household will use during construction.
As a hypothetical example, imagine a Chevy Chase primary bath where shifting the door toward a corner makes room for a double vanity. The trade-off is real. Moving a door can improve circulation, but it may affect framing, wiring, and an adjoining room. If you're considering heated elements as part of layout planning, a vertical bathroom radiator buying guide can help you think about wall space early.
For more on sequencing these early choices, see how to plan a bathroom remodel from the first measurements.
Budget note: Early, specific decisions protect the budget better than a low allowance that hides major differences in scope.
Milestone: You have a measured plan, a written scope, and layout options you've tested at full scale with painter's tape before ordering anything.
2. Universal Design and Aging-in-Place Considerations
You don't need a mobility concern today for accessibility to belong on your checklist. Features that help later, such as a low-threshold shower, comfortable seating, and fixtures you can operate with one hand, also help children, guests, and anyone recovering from an injury.
That broader view is widely shared. In the Houzz summary of bathroom renovators considering special needs, 68% of renovators considered special needs during their project, with grab bars at 61%, nonslip flooring at 55%, low-curb showers at 52%, and curbless showers at 28% among the most common measures. The question isn't whether you want an institutional room. It's whether the structure will support change.
Clear floor area matters as much as hardware. U.S. Access Board guidance on clear floor space identifies a 30-by-48-inch minimum unobstructed space for approaching fixtures, and it specifies a rear toilet grab bar of at least 36 inches. Treat those figures as guidance to discuss with qualified professionals, not as a substitute for locally applicable requirements.
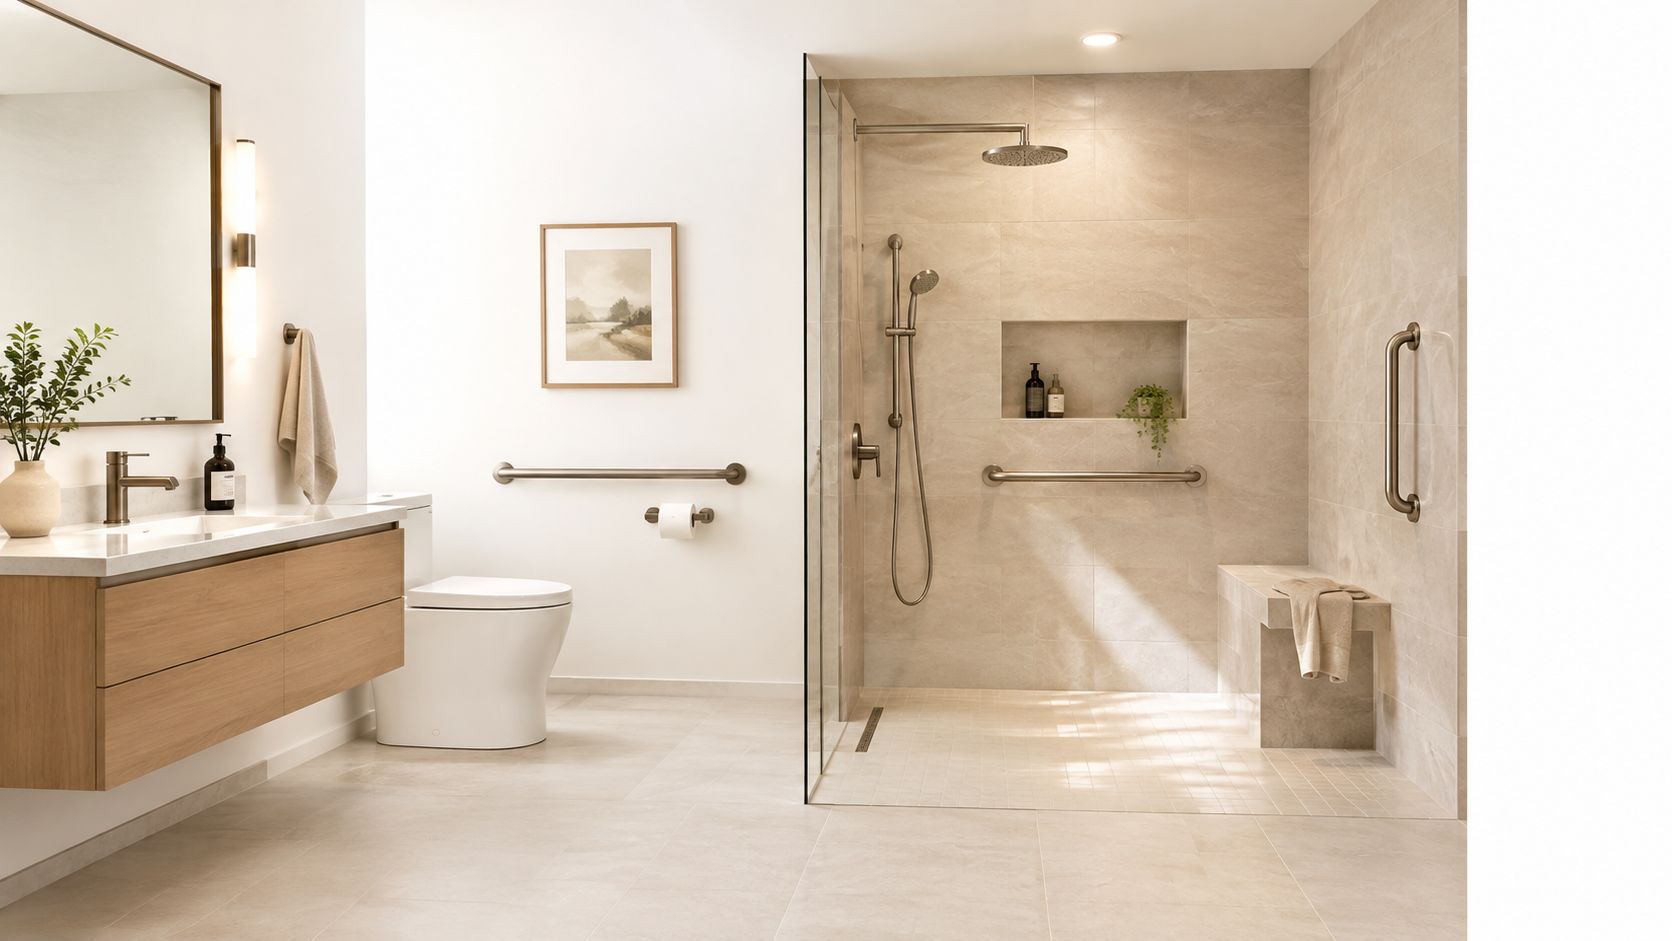
- Blocking plan: Mark walls for concealed reinforcement beside the toilet and in the shower.
- Entry and seating: Confirm how you'll enter, sit, turn, and transfer safely.
- Surfaces and light: Choose flooring for verified slip resistance, not matte appearance alone, and plan even lighting.
- Reach: Place controls so you don't lean across a wet surface to use them.
As a hypothetical example, a Northern Virginia hall bath could add wall reinforcement during framing and defer the bars themselves. The trade-off with a curbless entry is coordination. It can require floor recess work and careful drainage detailing, so it isn't a cosmetic add-on.
Milestone: Blocking locations, clearances, and door swing are drawn before waterproofing and tile begin.
Steps 3–4 Shape Bathing and Storage
3. Shower and Tub Planning, Including Jacuzzi Bath Updates
Start with how you bathe, not with a photograph. A walk-in shower, a tub-shower combination, a freestanding soaker, and a whirlpool each ask different things of plumbing, structure, cleaning, and daily access.
Where will you stand to turn the water on? Can you reach shampoo without stepping onto a slippery slope? Details like niche height, bench placement, glass swing, and drain position should be settled with tile layout, not after it.
For an accessible shower compartment without a seat, U.S. Access Board guidance on bathing rooms calls for grab bars on three walls and notes that separate bars should be no more than 6 inches from the adjacent wall. Your designer and installer should confirm what applies to your project, then coordinate niches and controls so they don't interfere with a secure grip.
- Fixture dimensions: Tape out the shower and tub footprint and stand inside it.
- Structure and access: Confirm floor framing for a filled tub and plan a reachable access panel for any whirlpool pump.
- Controls and storage: Set valve, handheld, bench, and niche positions for comfortable reach.
- Drainage: Confirm drain style, floor slope, and glass direction before ordering.
A walkthrough of shower planning can make these spatial questions easier to picture.
As a hypothetical example, a Virginia homeowner might pair a low-profile soaking tub with a handheld shower and built-in bench. The trade-off is footprint. Keeping both a generous shower and a separate tub can take storage or vanity space, while removing the only tub may not suit every household.
Milestone: Exact fixture models, rough-in dimensions, and access-panel locations are approved before demolition.
4. Storage Strategy and Custom Built-Ins
Open every drawer and cabinet you have now. What lives in this room, what migrates to the counter by Wednesday, and what should be stored elsewhere? A calm bathroom usually has less to do with square footage than with storage placed where each item is used.
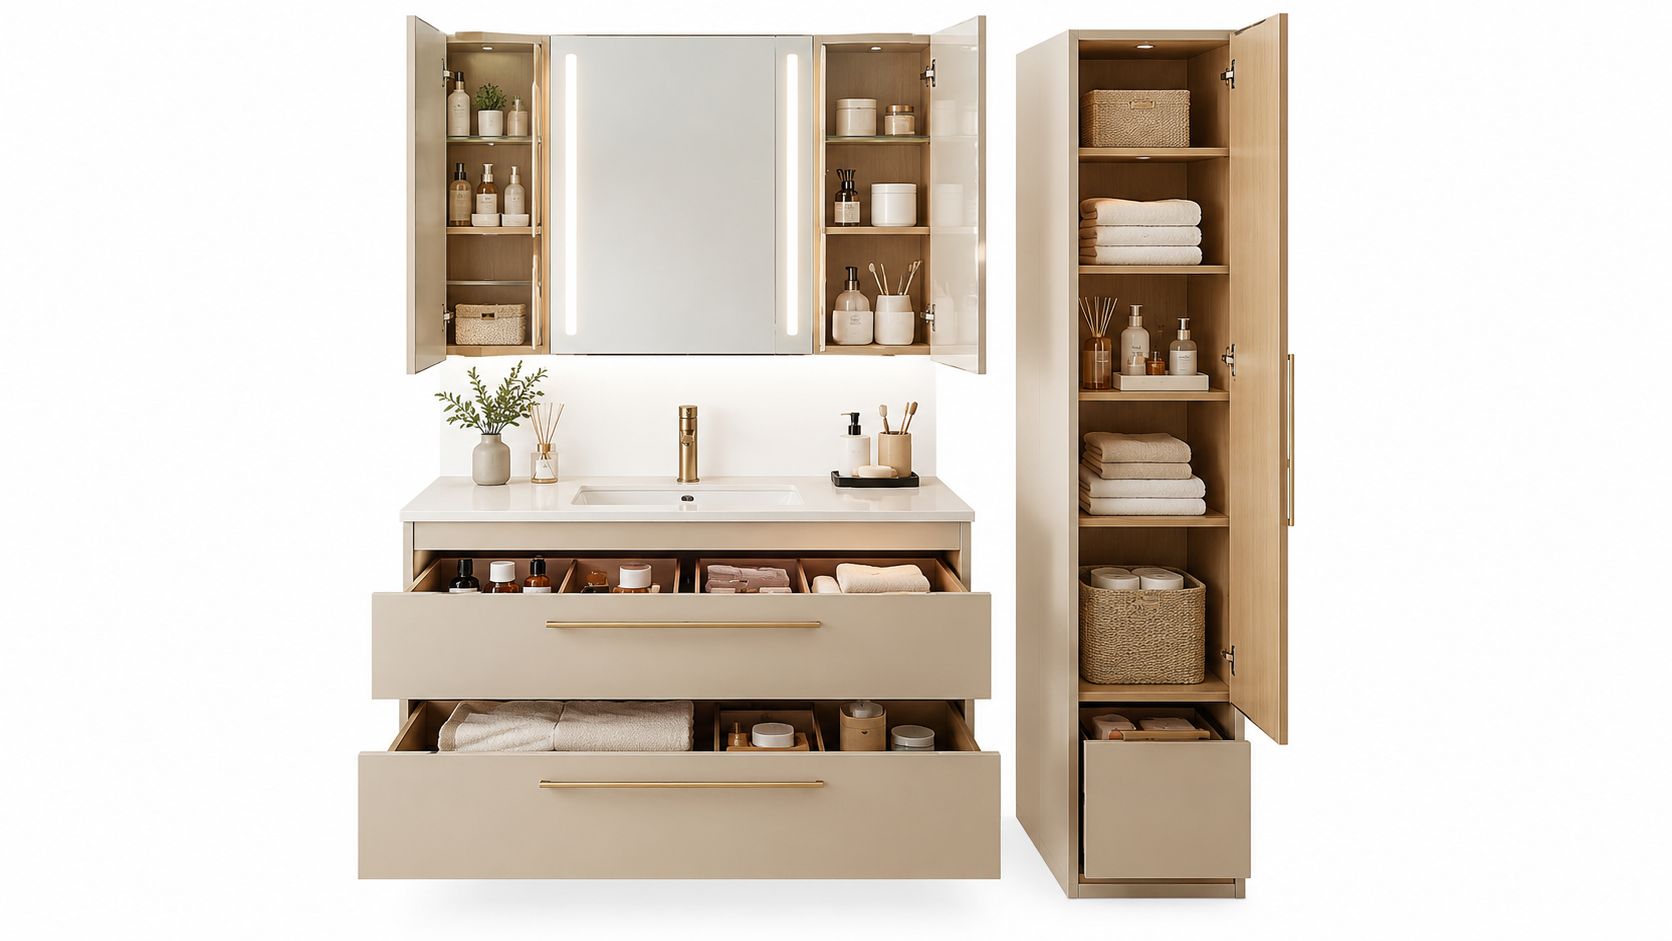
At the vanity, drawers often work harder than deep cabinets because you can see what's inside. Recessed medicine cabinets, tall linen storage, drawer dividers for hair tools, and a properly sized shower niche keep surfaces clear. Custom built-ins can also use awkward depth between studs or beside a vanity without projecting into your walking path.
- Inventory: Measure tall bottles, hair tools, towels, and cleaning supplies before designing interiors.
- Vanity interior: Specify drawers, pull-outs, and any in-drawer outlets with your electrician early.
- Recessed storage: Confirm plumbing and wiring runs before placing medicine cabinets or niches.
- Linen plan: Assign a home for towels and spare paper goods outside the sink base.
As a hypothetical example, a Maryland primary bath might place a tall linen cabinet beside the vanity, with pull-out baskets for towels and a recessed mirrored cabinet above the sink. The trade-off is depth. A tall cabinet adds capacity, but it can crowd the entry sightline or block natural light if it's placed without testing the view from the door.
You'll find more ideas in these bathroom storage solutions for vanities and built-ins.
Milestone: Cabinet dimensions, interior fittings, and recessed locations are finalized, with a little spare capacity rather than a perfect fit for today only.
Steps 5–6 Finalize Lighting and Materials
5. Layered Lighting and Mirror Placement
Good bathroom light does three jobs. Ambient light lets you move safely, task light at the mirror should be even and shadow-free for grooming, and accent light adds depth in a niche or beneath a floating vanity.
Plan the mirror and lighting together. Sconces flanking the mirror, a backlit mirror, or vertical fixtures can all work, but the electrical boxes must land in the right place before tile or cabinetry is set. Decide on switching at the same time, including dimmers and a softer nighttime option so you don't need full brightness at 2 a.m.
- Mirror size: Confirm width, height, and whether it includes recessed storage.
- Task light: Place fixtures to light faces evenly, not just the countertop.
- Layers and controls: Put ambient, task, and accent light on appropriate dimmers or separate switches.
- Outlets: Coordinate required protection and locations with a qualified electrician.
As a hypothetical example, a Chevy Chase bath could combine sconces beside a large mirror with a dimmed ceiling light and a warm strip under the vanity. The trade-off is complexity. More layers give you control, but they need more switching decisions, and a mirror that's too large can leave no sensible place for sconces. A bathroom mirror hanging guide is useful when you're checking weight and mounting.
For a deeper look at layering, read about bathroom lighting design for task and ambient light.
Milestone: Fixture, mirror, switch, and outlet locations are marked on the electrical plan before rough-in.
6. Materials, Finishes, and Long-Term Durability
Bring samples home and look at them wet, dry, in daylight, and under your planned lighting. Materials that sit comfortably together in a showroom can shift in color or texture in your own room.
Porcelain tile offers consistent color and low maintenance for many households. Natural marble has depth and variation, but it asks for sealing and gentler care. Quartz can simplify daily upkeep at the vanity, while wood cabinetry needs construction and finishes suited to humidity. None of these choices is right in the abstract. They're right when they match your tolerance for maintenance.
Two cautions belong in writing. A matte finish alone doesn't establish slip resistance, so ask for the product's performance information for wet floors. And tile, grout, or sealer don't replace waterproofing behind and beneath the finish.
- Finish schedule: Record every tile, stone, grout, metal, paint, and cabinet finish in one document.
- Samples in place: Approve samples together, in the room, before ordering.
- Care requirements: Note sealing, cleaning products, and what to avoid for each material.
- Extra material: Order and store spare tile and finish details for future repairs.
As a hypothetical example, a Virginia bath might use large-format porcelain that resembles limestone on the floor and a quartz top at the vanity. The trade-off is character versus upkeep. Natural stone varies from piece to piece, which some homeowners love and others find unpredictable once it's installed across a full wall.
Milestone: The finish schedule is signed, long-lead materials are ordered, and deliveries are inspected before demolition begins.
Steps 7–8 Coordinate Construction and Moisture Protection
7. Plumbing Fixtures, Rough-In Planning, and Water Efficiency
Before walls open, confirm where supply lines, drains, and vents run now. Keeping fixtures near an existing stack may limit disruption, while moving a toilet or adding a second sink can improve the layout. Either way, your plumber needs exact product specifications, not a general idea of a faucet.
Treat efficiency as a specification, not a label you glance at later. The Houzz press summary on prioritizing accessibility is paired in planning guidance with EPA WaterSense criteria under which labeled bathroom faucets are limited to 1.5 gallons per minute, can reduce sink flow by at least 30% versus the 2.2-gpm standard, and can save an average family about 700 gallons annually when inefficient faucets and aerators are replaced. Distinguish WaterSense criteria from other fixture requirements, and don't generalize one fixture's rating to the whole room.
- Rough-in sheet: Record model numbers, flow rates, valve types, and rough-in dimensions for every fixture.
- Access: Confirm shutoff locations, service panels, and replacement cartridge availability.
- Site sequence: Protect floors and stairs, isolate utilities through qualified trades, and schedule inspections before concealment.
- Concealed review: After demolition, pause to assess subfloor, framing, and prior water damage.
As a hypothetical example, an Ashburn-area vanity might shift slightly to align with an existing drain, avoiding a longer run through the floor. The trade-off is design freedom. Keeping plumbing in place can preserve budget for cabinetry or stone, but it may prevent the layout you first imagined.
Inspect the work while you can still see it. Once tile covers plumbing, wiring, and blocking, verification becomes guesswork.
Milestone: Plumbing and electrical rough-ins are approved and photographed, and required inspections are complete before walls close.
8. Ventilation and Moisture Management
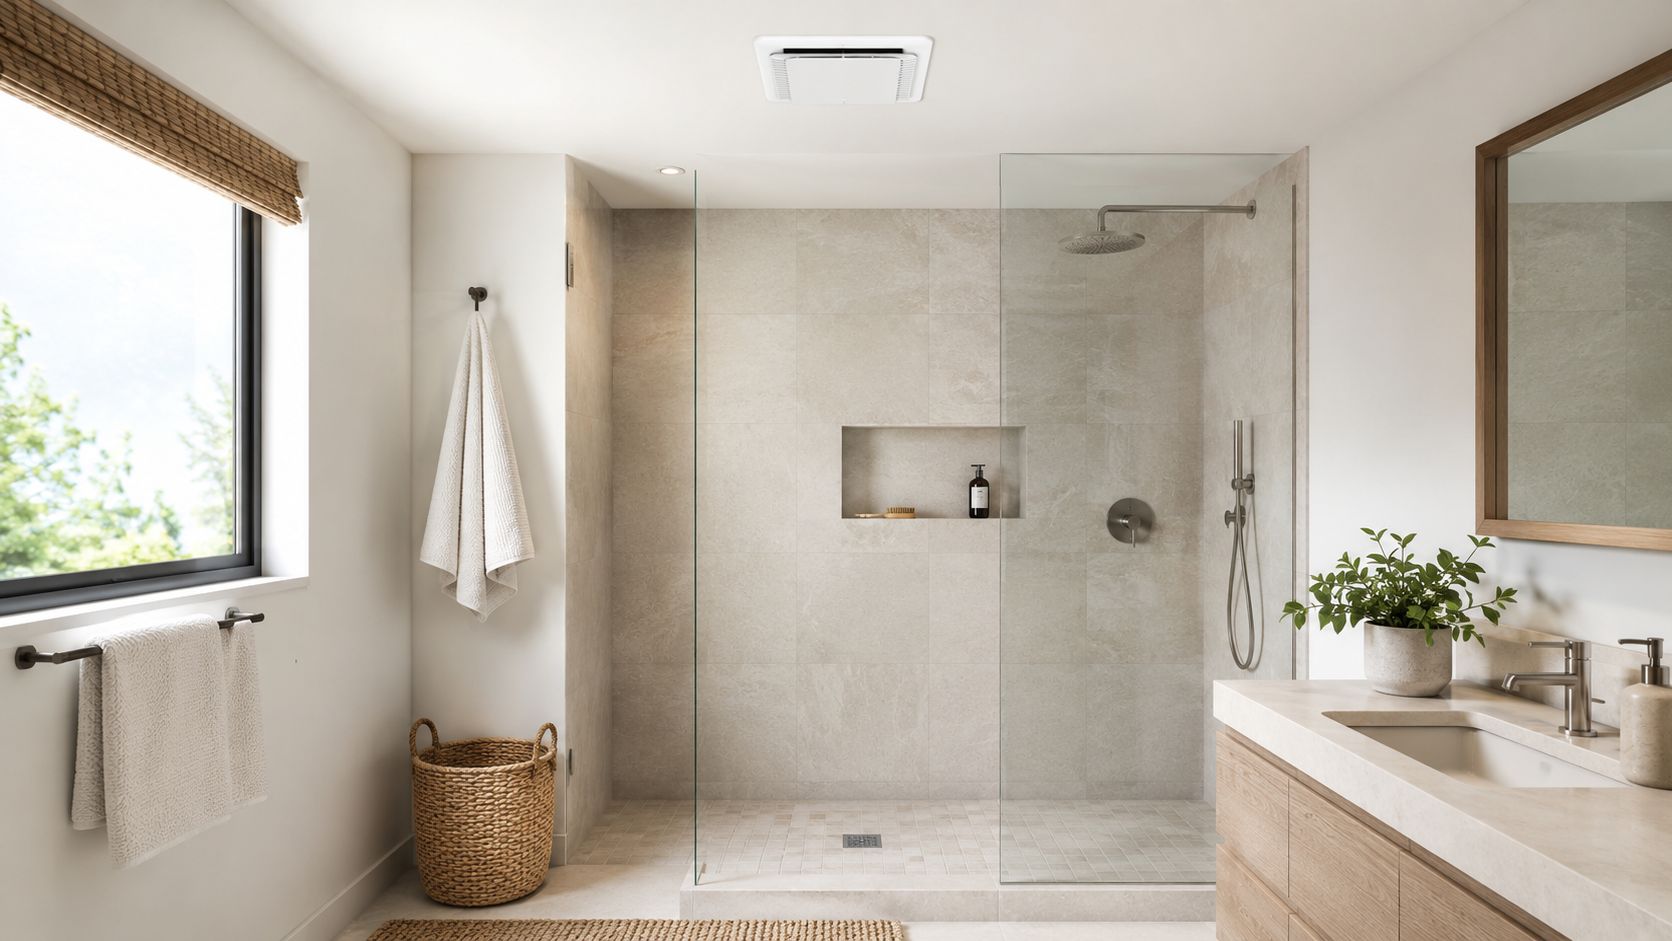
Ventilation isn't a final fixture choice. It's infrastructure that protects paint, cabinetry, grout, and framing through daily humidity cycles, yet it's often reduced to whether a fan is present.
Ask where the air goes. Municipal guidance in a residential bathroom remodel handout on mechanical ventilation lists typical minimums of 50 cubic feet per minute intermittently or 20 continuously and requires ducts to terminate outdoors. Your local jurisdiction may differ, so confirm the applicable requirement rather than treating any single figure as universal.
The EPA similarly advises in its guidance on indoor environmental concerns during remodeling that exhaust be vented directly outside, not into an attic, and notes that exhaust fans can help keep relative humidity below 50 percent. Test for actual air movement, not just fan noise.
- Fan specification: Document capacity, sound rating, controls, and humidity-sensor settings.
- Duct route: Draw the path, insulation where needed, and exterior termination.
- Waterproofing verification: Confirm the system, corners, penetrations, and shower slope before tile.
- Performance test: Run the fan after installation and confirm the room dries after bathing.
As a hypothetical example, an older Chevy Chase hall bath might replace an attic-vented fan with a quieter humidity-sensing model ducted through the roof. The trade-off is installation effort. A proper exterior route can be more involved than reusing an old duct, but discharging moist air into an enclosed space undermines the finishes you're paying to protect. A guide to stopping bathroom mold offers useful maintenance context.
Long-term comfort also has a personal dimension. AARP notes in its reporting on aging in place affordability that about 9 in 10 adults over 65 would prefer to remain in their current homes, while only about 10% of homes are fully prepared. Dry, well-lit, easy-to-clean rooms support that goal.
Milestone: Duct termination, airflow, waterproofing, and control settings are documented before final finishes are accepted.
8-Point Bathroom Remodeling Checklist Comparison
| Bathroom Remodeling Area | Implementation Complexity 🔄 | Resource Requirements | Expected Outcomes 📊 | Ideal Use Cases 💡 | Key Advantages ⭐ |
|---|---|---|---|---|---|
| Layout, Work-Zone Planning, and Project Coordination | Medium–high; increases when plumbing or walls move | Designer, budget and contingency, permits, coordinated trades, lead-time planning | Smoother circulation, fewer conflicts, better schedule and budget control | Shared or awkward bathrooms; full remodels in older homes | Improves daily flow and reduces delays and rework ⚡ |
| Universal Design and Aging-in-Place | Medium; curbless showers need careful waterproofing and floor planning | Slip-resistant surfaces, reinforced walls, suitable clearances, accessible fixtures | Safer, more flexible bathroom for changing mobility needs | Long-term homes, multigenerational households, accessibility upgrades | Supports safer use for people of varied ages and abilities |
| Shower and Tub Planning, Including Jacuzzi Bath Updates | Medium–high; structural and plumbing changes can add work | Appropriate framing, plumbing and electrical connections, pump access, waterproofing | A bathing area tailored to comfort, access, and routine | Spa-style upgrades, hydrotherapy, shower conversions, primary baths | Offers choices in comfort, accessibility, and visual impact |
| Storage Strategy and Custom Built-Ins | Low–medium; recessed units depend on wall conditions | Storage inventory, cabinetry, organizers, suitable wall cavities | Less counter clutter and easier access to everyday items | Small bathrooms, busy households, unusual room dimensions | Uses space efficiently and supports calmer routines ⚡ |
| Layered Lighting and Mirror Placement | Low–medium; electrical work and wet-area ratings may affect scope | Ambient, task, and accent fixtures; dimmers; appropriate-rated products | More even grooming light, adjustable atmosphere, improved sense of space | Bathrooms needing better mirror lighting or flexible mood settings | Reduces facial shadows and adds comfort with efficient LEDs |
| Materials, Finishes, and Long-Term Durability | Low–medium; selection and installation needs vary by material | Samples, moisture-suitable cabinetry, durable tile and surfaces, grout or sealers | Finishes better suited to wear, water, and maintenance preferences | Remodels prioritizing longevity, low upkeep, or distinctive natural finishes | Helps limit early repairs; in-person samples reduce selection surprises |
| Plumbing Fixtures, Rough-In Planning, and Water Efficiency | Medium–high; moving drains or supply lines can be costly | Plumbing plan, code-compliant rough-ins, fixtures, possible recirculation system | Reliable fixture fit, safer temperature control, and reduced water use | Fixture replacement, layout changes, water-saving upgrades, long hot-water runs | Early decisions prevent costly changes after walls are closed |
| Ventilation and Moisture Management | Medium; duct upgrades may require attic or roof access | Properly sized fan, exterior ducting, controls, waterproofing, moisture-resistant finishes | Less humidity, mildew risk, and moisture-related wear | Bathrooms with poor airflow, steam showers, or signs of dampness | Protects indoor air quality, finishes, and home structure |
Finish With a Walkthrough, Not Just a Reveal
Your final bathroom remodeling checklist should slow the project down at the end, not rush it. Walk the room with your contractor or design team and test it as you'll live in it. Open every drawer and door, run every faucet, flush, check drainage, operate the shower door, and watch how the room clears after steam builds.
Confirm required final inspections and permit closeout first. Then build a joint punch list with a named person responsible for each item and a completion date. Small details belong there without apology, whether it's a cabinet door that doesn't align, a caulk line that needs attention, a service panel that's hard to reach, or a lighting control that doesn't work as planned.
Ask a qualified electrician to verify required electrical protection, and test exhaust operation rather than assuming sound means airflow. EPA guidance cited in its remodeling and indoor air quality recommendations references ASHRAE guidance for 25 cubic feet per minute continuously or 50 intermittently, but your confirmed local requirement and the manufacturer's instructions should govern your installation. Respect manufacturer-specified curing periods before using the shower, even when you're eager to move back in.
Collect the paper trail while everyone is still engaged. That includes warranties, approved change orders, model and serial numbers, care instructions, grout and sealant products, ventilation settings, spare tile, and dated photographs of concealed plumbing, wiring, waterproofing, and grab-bar blocking. Those photographs are especially valuable years later, when a future installer needs to know what's behind the tile.
Reconcile the final invoice and payment milestones against your contract, including applicable lien documentation where relevant. There's no universal payment rule that fits every agreement, so the contract language matters. If something doesn't match, resolve it against signed change orders rather than memory.
Finally, set a simple maintenance calendar. Clean or check the fan, inspect sealant joints, follow material-specific care for stone, wood, grout, and metal finishes, and note when filters, cartridges, or humidity controls need attention. A refined bathroom lasts when its less visible systems are maintained with the same care as its surfaces.
If you're ready to begin, bring room measurements, a few inspiration images, your priorities, and a working budget to a consultation with Jennifer Gilmer Kitchen & Bath in Chevy Chase, Easton, or Ashburn. You'll leave with clearer next decisions, in the order your project needs them.
If you're planning a primary bath, powder room, or Jacuzzi bath update, Jennifer Gilmer Kitchen & Bath can guide you from concept through installation with thoughtful space planning, material selections, and coordinated construction details. Bring your measurements and priorities to a consultation, and start by visiting Jennifer Gilmer Kitchen & Bath to explore the firm's work and showrooms.