.avif)

The same walk-in shower may need to do two very different jobs. In the morning, you want clear, comfortable light for finding the controls, reading a product label, and moving safely across a wet floor. In the evening, the room should feel quieter, with a softer glow that supports an unhurried retreat and complements carefully chosen tile.
The best walk-in shower lighting ideas don't rely on one fixture. They layer focused wet-zone illumination, ambient light, and accents that bring out niches, benches, glass, and stone. Placement matters as much as appearance, while color temperature, dimming, wet-location specifications, waterproofing, and the surrounding finishes determine whether the result feels refined or improvised.
Jennifer Gilmer Kitchen & Bath coordinates those decisions from concept through installation for homeowners in Washington DC, Maryland, and Virginia. Lighting is planned alongside the layout, tile, cabinetry, hardware, and the accessories that help create a spa-like bathroom, rather than added after the major selections are complete.
Table of Contents
1. Recessed Lighting with Dimmer Controls
Recessed ceiling lights remain one of the cleanest solutions for a walk-in shower. Their flush profile keeps the ceiling visually calm, which suits open shower concepts, floating vanities, and the restrained material palettes often used in primary-bath renovations in Chevy Chase and Northern Virginia.
The fixture count and placement deserve more attention than the trim style. In a shower around 42 by 60 inches or larger, independent remodeling guidance recommends at least two wet-location recessed LED fixtures to reduce the single-shadow effect, with a target of roughly 50 foot-candles at floor level. See the accessible LED bathroom lighting guidance for the full planning context. One light can leave the controls, bench, or floor in shadow, particularly when the bather stands between the fixture and the wall.
Keep the ceiling clean and the light comfortable
Specify fixtures designed for the actual moisture exposure, not just a trim that looks appropriate. Recessed lights directly above the shower are generally treated as part of the wet or splash zone, where IP65 or higher is the widely cited benchmark. Depending on local requirements, shower-zone luminaires may also need low-voltage SELV power or protection through a 30 mA RCD. A licensed electrician should confirm the applicable code before installation.
Place the fixtures slightly forward of the shower centerline when possible. That keeps the brightest part of the beam from reflecting directly off wet tile or striking the bather's eyes. Use a quality LED-rated dimmer, and coordinate the housing with ceiling framing, plumbing, and the waterproofing sequence. Jennifer Gilmer Kitchen & Bath also discusses the importance of purposeful overhead illumination in its guide to recessed lighting placement.
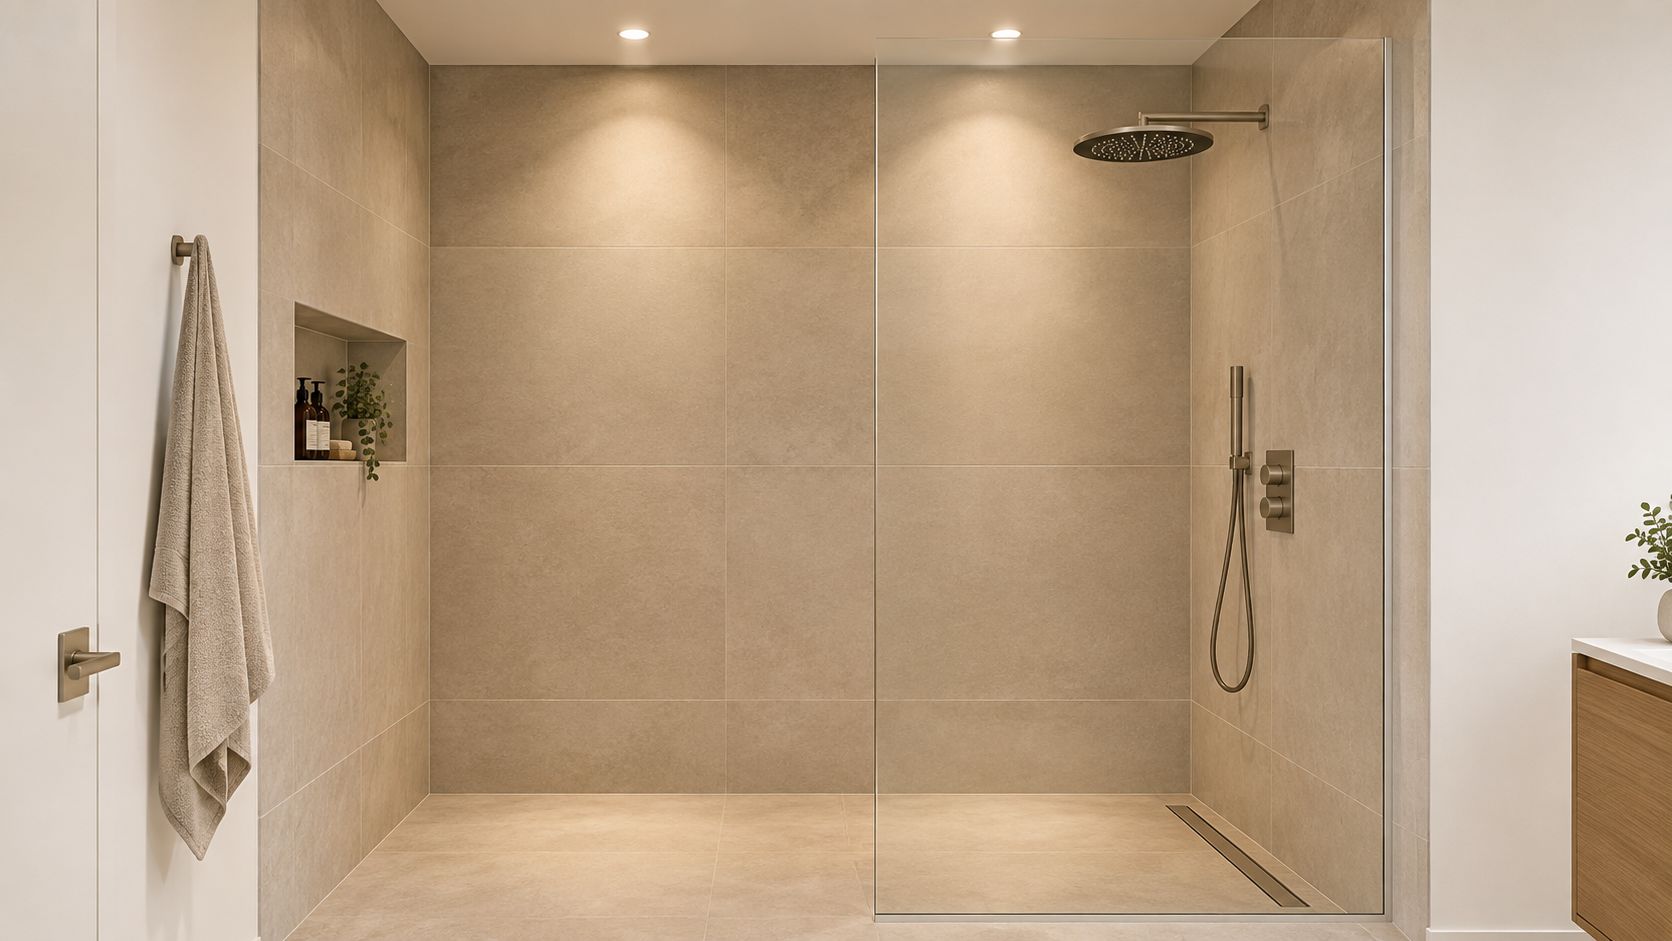
Practical rule: Use recessed lights for dependable visibility, then use dimming to change the atmosphere. Don't ask one ceiling fixture to provide every layer.
2. Linear LED Strips Behind Glass Shelves
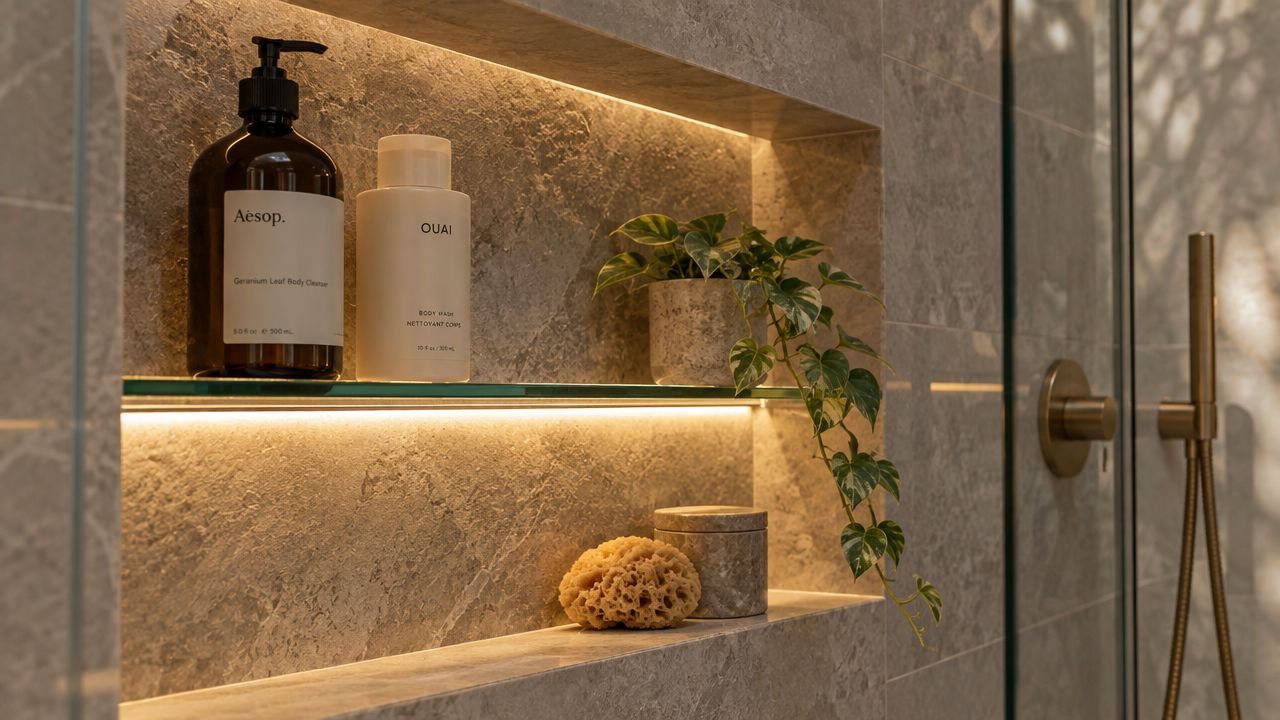
A shower niche can be more than storage. A concealed linear LED strip behind a glass shelf creates a soft wash of light that catches the shelf edge, reflects across the tile, and gives everyday bottles a considered place within the composition. The effect is especially appealing in Maryland estates with spa-inspired shelving and in Washington, DC renovations where every recessed inch needs to serve both storage and design.
Indirect light works best here. A strip aimed toward the back of the niche usually feels gentler than a bare diode visible from the shower. It can also reveal tile texture without creating the hard, theatrical beam that makes a small enclosure feel overlit.
Design the niche before the tile
Shelf depth, grout lines, waterproofing, and the location of the electrical feed must be resolved during the initial layout. Linear LED products vary considerably, so every segment used in a shower niche or bench needs a wet-location rating. The driver should sit outside the wet zone in an accessible, serviceable location. Hiding the driver behind finished tile may produce a clean first impression, but it creates an avoidable maintenance problem later.
Warm white light around 2700K can support a relaxed evening mood, while 4000K can provide a crisper quality for grooming tasks. Those are different experiences, so a dimmable system or separate scene control is more useful than choosing a single compromise temperature.
- Protect the sight line: Recess or diffuse the strip so it doesn't shine into the bather's eyes.
- Coordinate the shelf edge: Let the glass, stone, or porcelain detail conceal the light source.
- Plan service access: Keep the driver outside the shower and reachable without demolition.
- Connect the controls: Integrate niche lighting with the wider bathroom scheme instead of giving it an isolated switch.
The result should feel like light emerging from the architecture, not a strip added to it.
3. Pendant Lights Positioned Above the Shower Entry
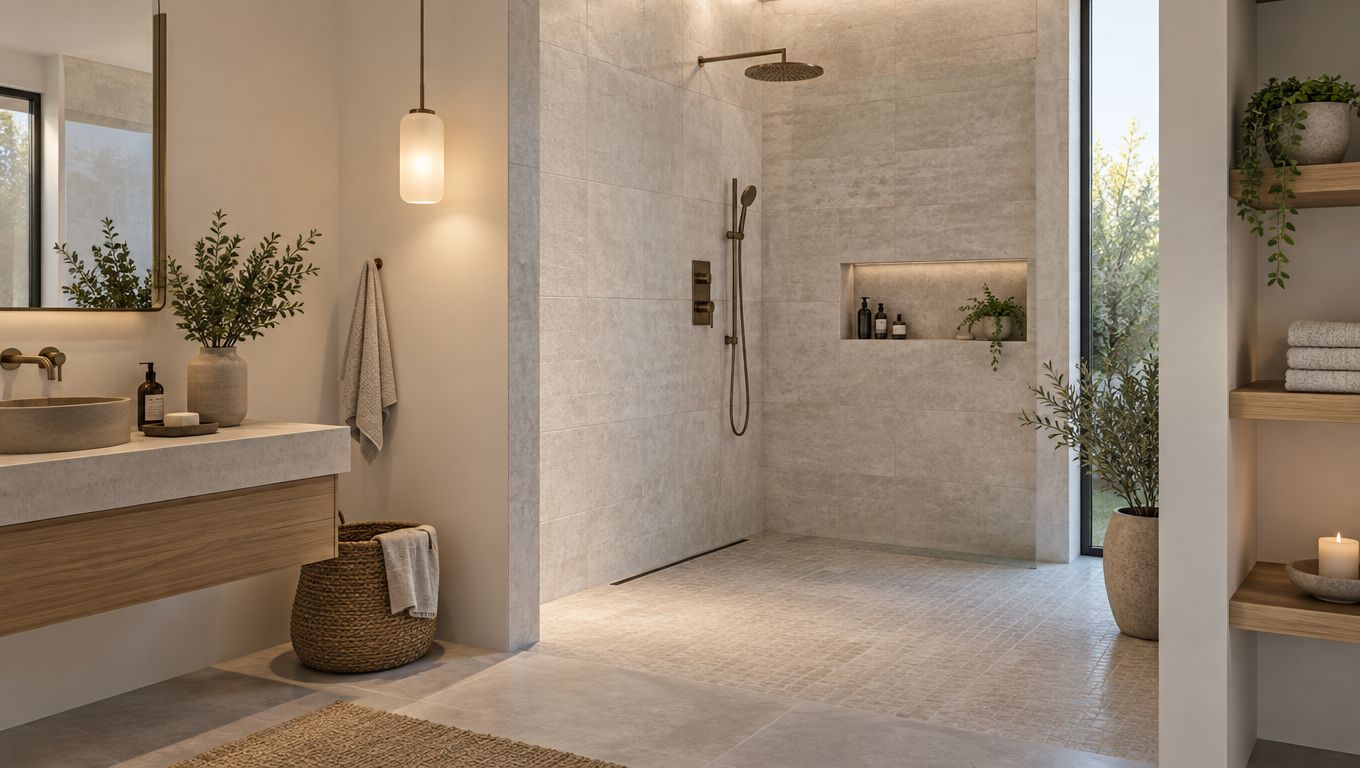
A pendant can give an open walk-in shower a stronger architectural presence, but its success depends on where the dry and wet zones meet. Hung just outside the shower entry, a pendant can illuminate the transition into the enclosure and frame the opening without putting a moisture-sensitive decorative fixture directly under the spray.
This approach suits a Virginia primary bath where the shower is a visual focal point, or an open-plan bathroom in the DC area where the design needs a deliberate sense of foreground and background. A pair of pendants can make the entrance feel composed, particularly when they align with a wall, a freestanding tub, or a central vanity axis.
Use decoration where the exposure is controlled
Keep the fixture at least 12 inches outside the shower threshold, as specified in this design approach, and have the electrician confirm the location against the room's applicable wet-area rules. A pendant inside the spray zone isn't a substitute for a properly rated shower luminaire. Even outside the enclosure, humidity and condensation still matter, so the fixture and installation should suit the environment.
Scale matters. An oversized pendant may dominate a narrow passage, while a small pair can disappear beside a generous glass opening. Choose a finish that relates to the faucet, shower controls, towel hardware, and tile accents. Aged brass can warm a quiet stone palette, while matte black may sharpen a lighter contemporary scheme.
A pendant should mark the entrance, not compete with the person using the shower.
Use dimmable LED pendants so the room can shift from bright morning circulation to a lower evening setting. Confirm the hanging height against sight lines from the bathroom entry, the vanity, and the shower seat. Glass creates reflections from multiple angles, so mock-up and coordination are more valuable than selecting the fixture from a catalog image alone.
4. Wall-Mounted Sconces Flanking Mirror or Entry
Sconces bring a more furnished quality to a bathroom than ceiling fixtures alone. Placed on either side of the mirror, they give balanced grooming light and establish a visual rhythm. Positioned outside the shower opening, they can also frame the enclosure and extend the room's decorative language toward the wet zone.
This is a natural choice for a Chevy Chase primary bath where traditional-influenced fixtures meet modern cabinetry. It also works in a carefully edited DC bathroom, where a pair of sconces can connect the mirror, vanity, shower entry, and metal finishes into one composition.
Balance grooming light with shower light
For mirror lighting, place sconces around 60 to 65 inches from the floor, adjusted for the users and the mirror height. The fixture should be proportional to the mirror, with the supplied planning guidance using roughly 25% to 33% of the mirror width per fixture as a reference. These measurements are starting points, not rigid rules. A tall, narrow sconce may suit a vertical mirror, while a broader shade may need more breathing room.
If a sconce sits within 60 inches of the shower opening, specify a fixture appropriate to its moisture exposure and confirm the installation with the electrician. A decorative fixture rated only for dry interiors isn't made suitable by its distance from the shower if spray can reach it.
Sconces don't replace focused light inside a dark enclosure. Their strength is visual balance and flattering light at the mirror, while recessed or sealed wet-location fixtures handle the shower task. Use separate switching or dimming so the vanity can remain bright while the shower rests at a softer level.
Finish coordination is particularly important here. Match or intentionally complement the faucet, shower trim, cabinet hardware, and towel bars. A sconce can look beautiful on its own and still feel disconnected if its metal tone or silhouette has no relationship to the rest of the bath.
5. Waterproof Recessed Lights Within the Shower Enclosure
When the shower sits behind frameless glass or occupies a deep corner with limited natural light, illumination needs to come from within the enclosure. Waterproof recessed fixtures installed in the ceiling can provide direct visibility across the controls, floor, seat, and finished tile without introducing a decorative object into the spray path.
The product specification is essential. Fixtures directly above a shower are commonly specified at IP65 or higher, while IP67 may be preferred for locations exposed to stronger overhead spray. Bathroom zone guidance distinguishes even more exposed areas, with Zone 0 typically requiring at least IPX7 protection and Zone 1 generally requiring at least IPX4, with IPX5 recommended or required where water jets are present. Review the bathroom electrical zone guidance with the project's electrician and local authority requirements.
Coordinate the fixture with the waterproofing assembly
The trim, housing, vapor seal, ceiling penetration, and waterproofing membrane must work as one system. Installers should resolve the fixture before the membrane and finished tile are applied, rather than cutting into a completed shower and hoping the seal can be restored. This is one reason an experienced design-build collaboration protects the result.
Avoid aiming the fixture directly at the bather's face. A forward offset or a pair of carefully placed fixtures usually gives better visibility with less glare than one light centered above the head. Larger showers benefit from multiple points of illumination because a single source creates a strong shadow whenever the bather moves.
- Specify the exposure rating: Confirm the product's wet-location suitability and IP rating.
- Seal the penetration: Coordinate the housing and trim with the waterproofing membrane.
- Separate the controls: Let the shower operate independently from the room's general lights.
- Plan for the finish: Consider how the trim relates to the grout layout and tile scale.
For a shower with a highly textured surface, the fixture position can either reveal craftsmanship or flatten it. Jennifer Gilmer Kitchen & Bath's guidance on porcelain tile for shower applications is a useful companion when lighting and surface durability need to be considered together.
6. Ambient Ceiling Light with Frosted Diffuser
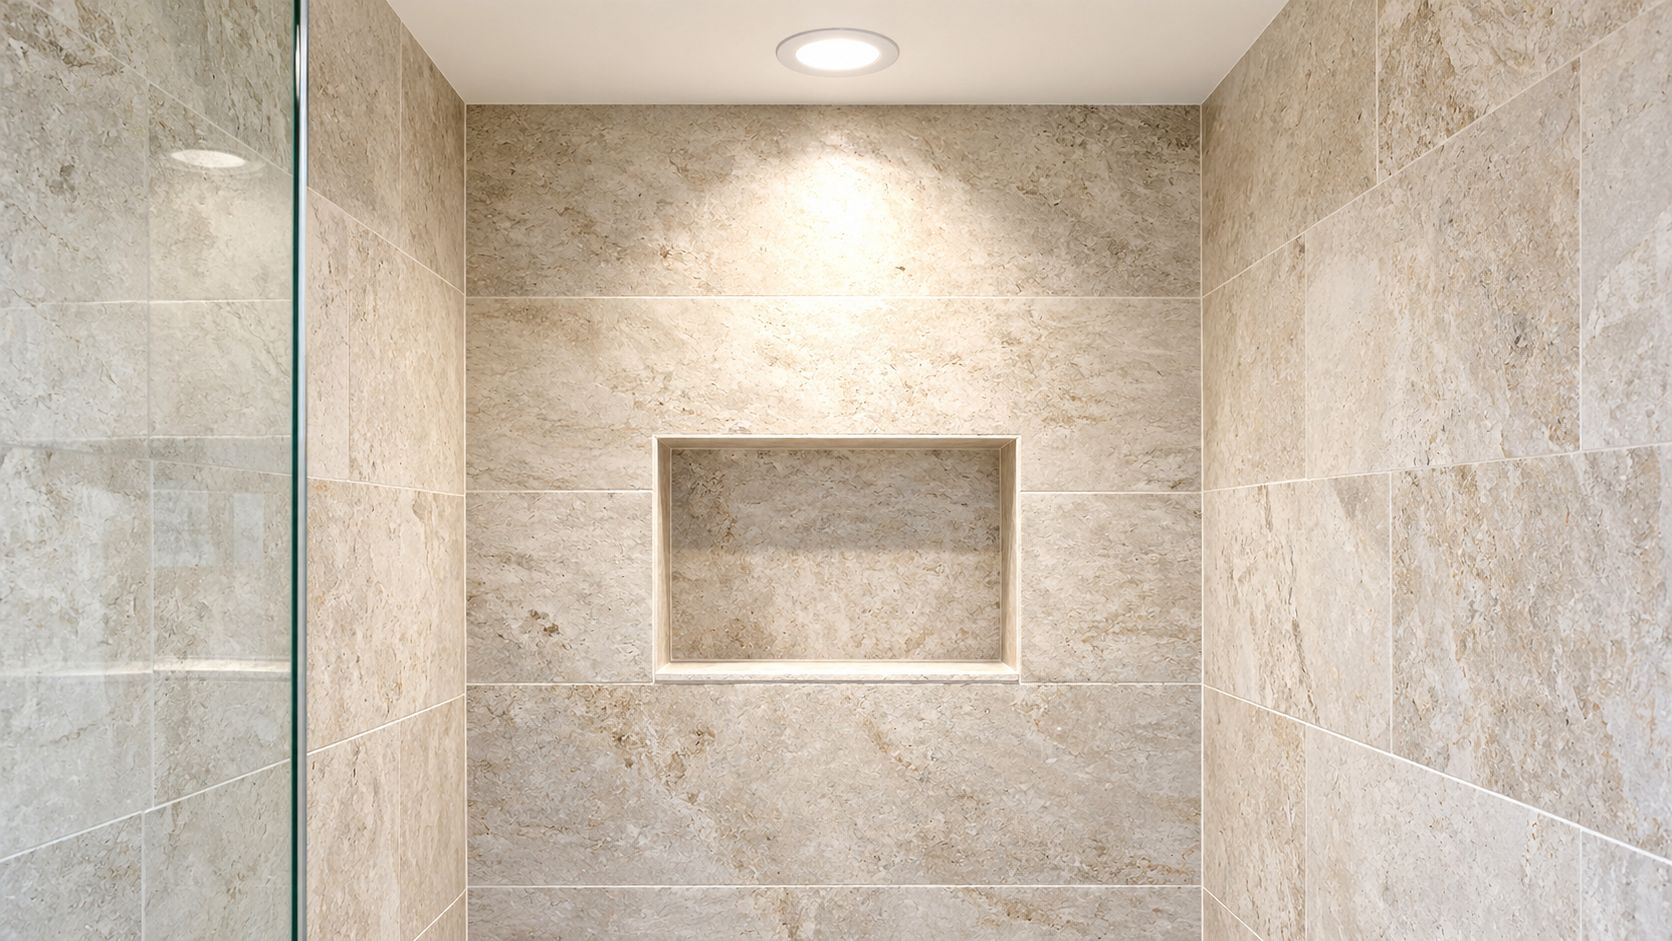
Not every shower wants a collection of small downlights. A larger ceiling fixture with a frosted or opal diffuser spreads light broadly and softens the contrast between bright and dark surfaces. In an enclosed walk-in shower, that diffuse quality can make the ceiling feel higher and the atmosphere less clinical.
This solution is particularly effective in contemporary Maryland primary baths where the ceiling is treated as part of the design rather than leftover space. It can also suit a DC renovation with a prominent shower ceiling, provided the fixture has enough clearance from the spray and the installation matches the wet-location requirements.
Choose diffusion over glare
A frosted diffuser conceals the light source and sends illumination across the enclosure rather than concentrating it in one sharp beam. That can be more comfortable against glossy tile and glass. The trade-off is that a large central fixture may provide less directional light at the controls or floor, so it often works best as the ambient layer alongside a smaller task source or niche accent.
Select a fixture with a moisture rating suitable for its actual location. The planning guidance for this approach calls for at least IP54, ideally IP65, while the electrician should confirm whether the fixture sits in a wet zone, a damp zone, or outside the shower's defined exposure area. If a ceiling location is too close to overhead spray, a wall-mounted extension can create distance without losing the soft, broad effect.
Jennifer Gilmer Kitchen & Bath's bathroom lighting design guidance emphasizes coordinated placement for mirror lighting, shower illumination, and controls. That coordination matters here because a diffuser visible from the bathroom entry becomes part of the room's composition.
Use a dimmer to keep the fixture versatile. Brushed nickel, matte black, and oil-rubbed bronze can each work, but the finish should relate to the selected plumbing and hardware rather than be chosen in isolation.
7. Smart and Color-Adjustable LED Systems
Smart lighting is most useful when it simplifies the daily routine rather than adding a layer of technology to manage. A centralized LED system can adjust brightness and color temperature through a wall control, app, or voice command, allowing the same shower to support a clear morning routine and a quieter evening setting.
In a Northern Virginia or DC primary bath with broader home automation, smart controls can coordinate the shower with vanity lighting, ventilation, and other room scenes. In a simpler renovation, a reliable hardwired dimmer may be the better choice. Connectivity shouldn't determine whether the shower feels comfortable.
Build scenes around real routines
A warm setting around 2700K can create a relaxed evening atmosphere, while 4000K or higher can offer a cooler, more alert quality for morning visibility. These preferences should be tested against the tile and skin tones in the room. A color-adjustable system won't correct poor fixture placement, glare, or insufficient wet-location protection.
Plan the wiring and controls before the walls close. Confirm whether the wireless signal reaches the bathroom or whether a hardwired control system is more dependable. Switches should remain outside the wet zone unless the product and local code specifically permit another arrangement. Drivers for linear LEDs still need to remain outside the wet zone and accessible for service.
- Create a morning scene: Use brighter, cooler light for controls, products, and movement.
- Create an evening scene: Lower the output and use a warmer setting around the shower.
- Keep a manual option: Make everyday operation possible without relying on a phone.
- Protect the system: Use wet-location fixtures and place drivers where they can be reached.
A smart scene is successful when the user doesn't have to think about it. It should recall a comfortable setting, not require a technical explanation every time someone takes a shower.
Walk-In Shower Lighting: 7-Option Comparison
| Option | 🔄 Implementation Complexity | ⚡ Resource & Cost | ⭐ Expected Outcome / Impact (📊) | Ideal Use Cases | 💡 Key Advantages & Tips |
|---|---|---|---|---|---|
| Recessed Lighting with Dimmer Controls | Medium, ceiling access and layout coordination | Medium, LED trims + dimmer, higher than basic | ⭐⭐⭐, even, adjustable ambient/task light with low glare | Walk-in showers with limited wall space; modern/minimal bathrooms | Clean, streamlined look. 💡 Use IC-rated damp/wet fixtures, pair with LED-rated dimmer, install ≥2 to avoid shadows. |
| Linear LED Strips Behind Glass Shelves | Medium, concealed wiring, shelf coordination in design phase | Medium–High, waterproof strips, channels, waterproofing | ⭐⭐⭐, soft indirect ambient and accent light; highlights materials | Contemporary/niche shelving, product display, luxury bathrooms | Adds layered depth without bulk. 💡 Specify waterproof strips, plan shelf location early, avoid direct reflections into eyes. |
| Pendant Lights Positioned Above Shower Entry | Low–Medium, standard wiring but requires careful height placement | Low–Medium, decorative fixtures; no wet-rating if outside spray zone | ⭐⭐, strong visual focal/transition light; not primary shower task light | Open-concept bathrooms where shower is a centerpiece | Creates design moment at threshold. 💡 Mount ≥12" outside shower opening; ensure adequate ceiling height and symmetry. |
| Wall-Mounted Sconces Flanking Mirror or Entry | Medium, wall rough-in and precise placement to avoid shadows | Medium, fixture cost varies; may need dimmers | ⭐⭐⭐, balanced, flattering grooming light; adds architectural rhythm | Grooming zones, mirror flanking, entrances just outside wet zone | Even, task-friendly illumination. 💡 Place at ~60–65" eye level and size proportionally to mirror. |
| Waterproof Recessed Lights Within the Shower Enclosure | High, wet-location wiring, strict waterproofing and code compliance | High, IP65+/IP67 fixtures, vapor seals, skilled installer | ⭐⭐⭐⭐, most direct, shadow-free task lighting; highlights tile and details | Enclosed showers, spa-like/high-end projects, low natural light | Best for direct shower lighting. 💡 Specify IP65+ and vapor-sealed trims, install before membranes, position to avoid direct eye contact. |
| Ambient Ceiling Light with Frosted Diffuser | Medium, ceiling mount; must meet wet-location ratings | Medium, larger fixture and diffuser; IP-rated options | ⭐⭐⭐, soft, even, spa-like general illumination | Enclosed showers where soft, non-directional light is desired; ceilings as design feature | Soft, even coverage and ceiling focal point. 💡 Choose IP-rated fixture (min IP54, prefer IP65) and pair with accent lights for layering. |
| Smart and Color-Adjustable LED Systems | High, system integration, control wiring, programming | High, smart fixtures, controllers, hub/Wi‑Fi, professional setup often needed | ⭐⭐⭐⭐, highly customizable scenes, circadian support, energy savings | Smart-home renovations, users wanting personalized scenes and automation | Future-proof, programmable lighting. 💡 Plan integration early, ensure reliable connectivity, and create preset scenes for morning/evening. |
Let Every Layer Earn Its Place
The strongest walk-in shower lighting ideas begin with the experience, not the fixture. Decide whether the shower is primarily a bright, efficient morning space, a quiet evening retreat, a wellness-focused room, or all three. That answer will guide the balance between task lighting, ambient illumination, accent light, and decorative fixtures outside the wet zone.
Next, map the exposure areas. Fixtures directly above the shower need wet-location specifications, and the National Electrical Code requires luminaires in wet locations to be marked “Suitable for Wet Locations.” Damp-location fixtures also need the appropriate marking, and wiring compartments must be protected from water. The fixture's location determines its suitability, not its appearance.
Safety gives this planning a practical foundation. One CDC-backed summary reports that more than 14 million older adults in the United States, about 1 in 4, report falling each year, with roughly 41,000 fall-related deaths and 3 million treated injuries annually. The same summary estimates $50 billion in medical costs. Bathroom lighting can't eliminate fall risk, but it can support better visibility at the entry, controls, seating, and wet-floor transitions. A separate shower-safety guide reports more than 235,000 annual emergency-room visits in the United States for bathroom-related injuries and says 81% involve slip-and-fall injuries. These figures appear in bathroom safety and industry statistics, and they reinforce why decorative light should never replace clear circulation lighting.
Plan the system before construction
Choose the fixture combination with the ceiling structure, plumbing, tile module, glass, waterproofing membrane, and electrical controls in the same conversation. A recessed fixture may need to shift to avoid a joist. A niche strip may need a concealed route to a driver outside the wet zone. A pendant may need to move beyond the threshold so it remains decorative without becoming a wet-area liability.
Layering also makes the room easier to live with. A focused wet-zone source handles visibility. A frosted ceiling fixture or indirect niche light softens the enclosure. Separate dimming lets the homeowner use only what the moment requires. For a larger shower, two carefully positioned trims can feel calmer and safer than one overly bright fixture because the light is more even.
Lighting trends support this more considered approach. The 2026 NKBA bath trends report says 91% of respondents prioritize lighting quality, 92% say task lighting should always be included in the primary bath, 80% are including nighttime-specific lighting, and 51% expect mood lighting in the shower to gain prominence. The report also records 88% prioritizing natural lighting and 47% favoring integrated lighting in mirrors. Those figures are from the NKBA 2026 bath trends report, and they reflect a broader shift toward lighting that supports several routines instead of one fixed level.
For homeowners in Washington DC, Maryland, Virginia, and Delaware, Jennifer Gilmer Kitchen & Bath can coordinate those choices from concept through installation. Visit a showroom in Chevy Chase, Easton, or Ashburn, or schedule a consultation to review lighting alongside layout, tile, cabinetry, glass, and hardware. A thoughtful plan protects the waterproofing, preserves clean sight lines, and makes the shower feel natural at every hour.
Jennifer Gilmer Kitchen & Bath offers full-service bathroom design and remodeling, including lighting planning, material selections, layout coordination, and installation support. Visit Jennifer Gilmer Kitchen & Bath to explore the showrooms and schedule a consultation for a walk-in shower lighting plan suited to your home.